Sign In

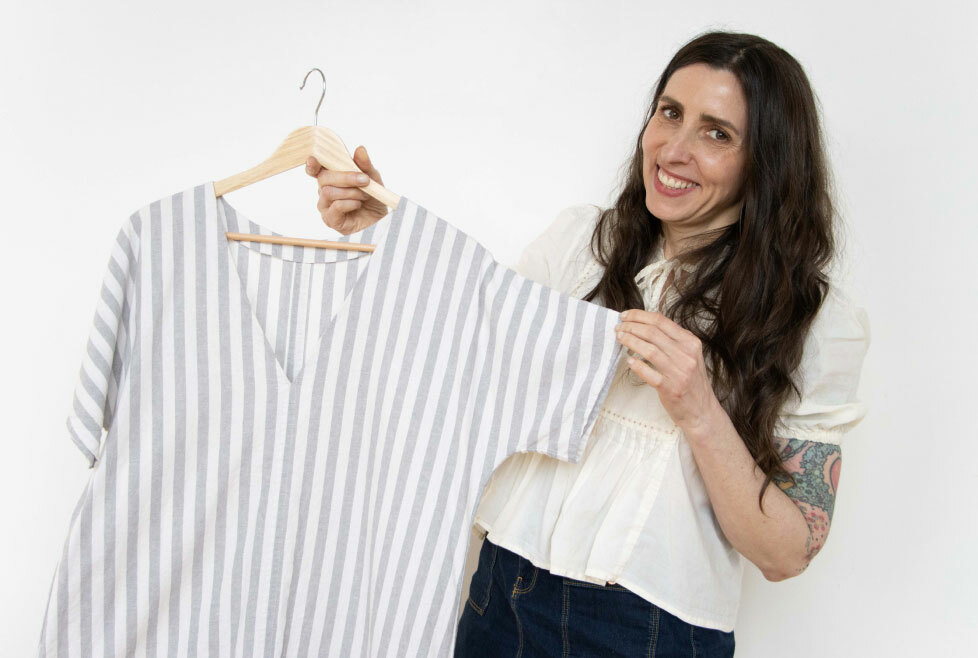
If you've ever picked up a piece of linen fabric and felt simultaneously excited and intimidated, you're not alone. As someone who's worked with linen for years, I can tell you that while this natural fiber has a reputation for being tricky, it doesn't have to be challenging at all. Here are five essential techniques that will transform how you sew with linen—and help you avoid common pitfalls like dramatic post-wash shrinkage or fraying seams.
1. Choosing Your Linen: Quality Matters
Let's start with one of my favorite parts of any project: fabric shopping! Not all linen is created equal, and selecting the right quality and weight can make or break your project. When I'm at the fabric store, I always look for:
- Even weave with minimal slubs (those little knots in the yarn)
- Natural luster
- Substantial feel with nice drape
- Clear fiber content labeling
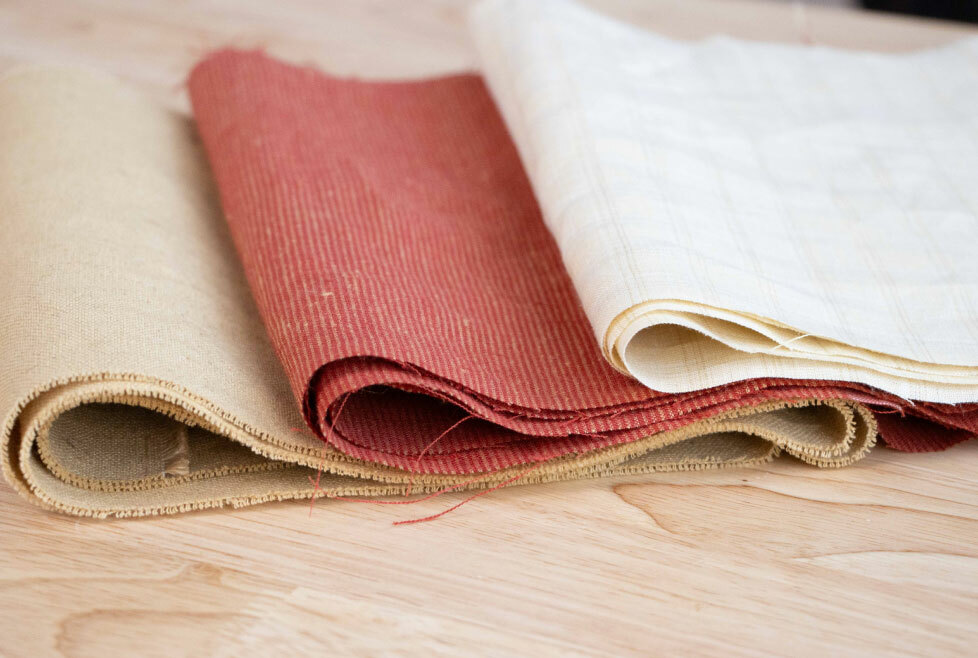
Here's a quick guide to linen weights:
- Lightweight (3–5 oz): Perfect for summer clothing
- Medium-weight (5–7 oz): Ideal for shirts, dresses, and light jackets
- Heavyweight (8+ oz): Best for tailored pieces and home décor
Pro tip: For beginners, I highly recommend trying Brussels Washer Linen from Robert Kaufman. It's a linen-rayon blend that offers the best of both worlds—classic linen look with improved stability and less wrinkling.
2. Pre-treatment: The Step You Can't Skip
One of the biggest mistakes I see sewists make (and yes, I've been guilty of this too!) is skipping proper pre-treatment. Linen requires thorough preparation before you even think about cutting into it.
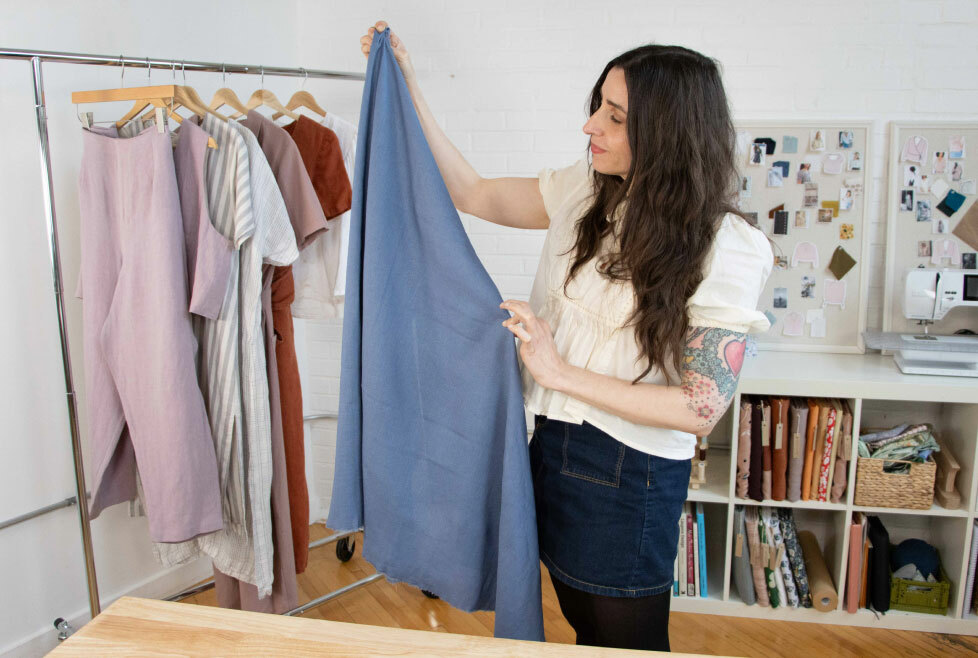
Here's what I do: First, iron the fabric with a dry iron on the hottest setting. Then, prewash the fabric in hot water, and tumble dry on high heat. These tips came from Sandra Betzina, and they really work to pre-shrink.
This matters because linen can shrink up to 10% in the first washing – that's several inches on a garment! For that reason, you may want to buy an extra 10% of yardage, knowing how much it might shrink.
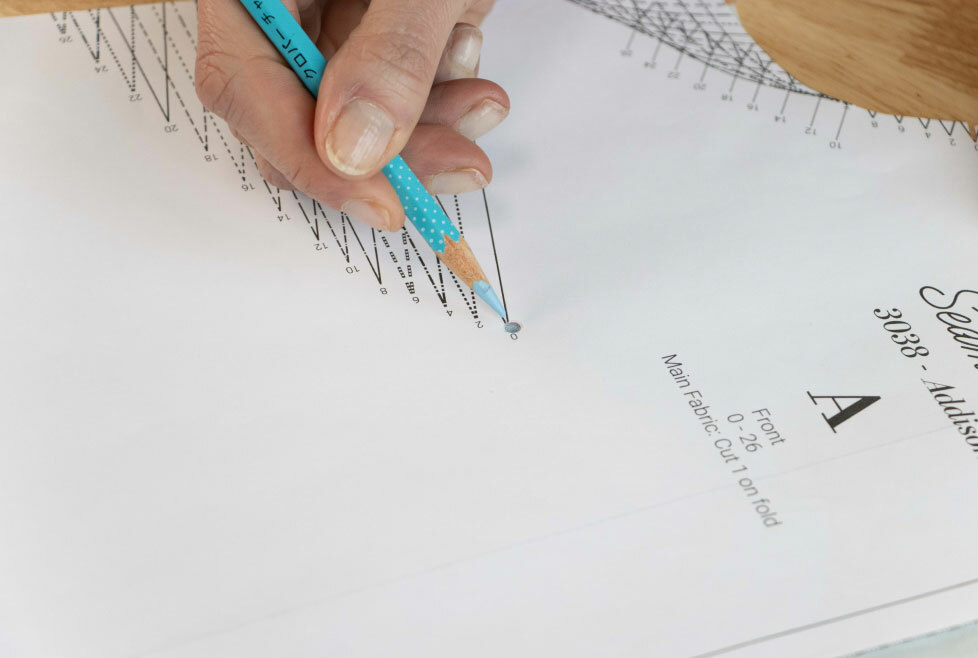
3. Cutting and Stabilizing: Your Foundation for Success
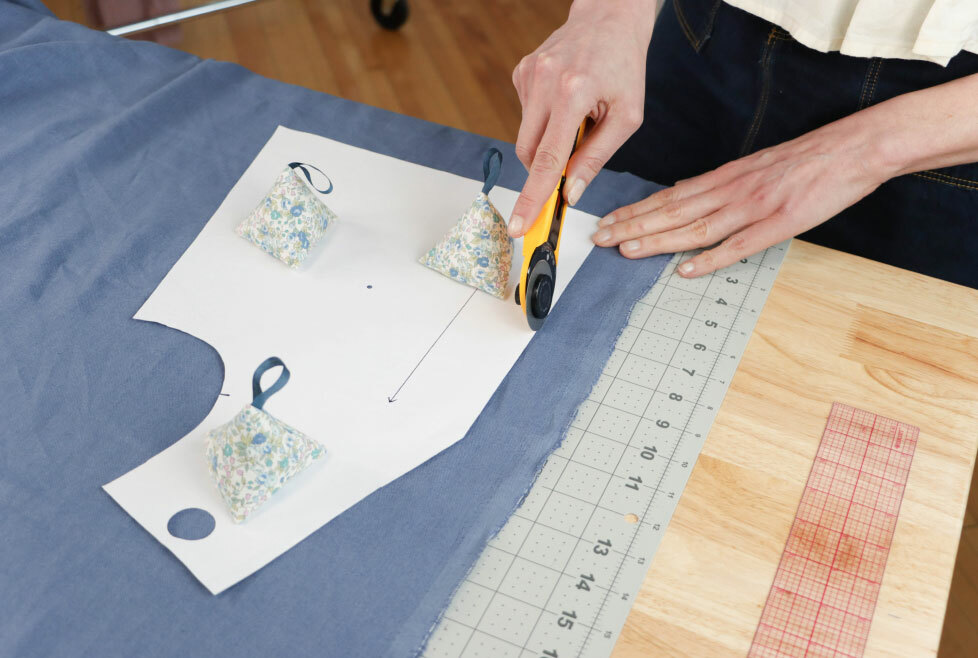
After pre-treatment, proper cutting and stabilizing techniques are crucial. Let me share some hard-won wisdom from my own experience:
Start with these essentials:
- Use a rotary cutter and mat for cleaner edges
- Opt for pattern weights instead of pins
- Cut with perfect grain alignment
- Staystitch curved areas immediately
One thing I've learned through trial and error: limit handling your cut pieces as much as possible. I like to organize my cutting so I can move straight into construction, similar to how I approach other structured projects.
4. Sewing Techniques That Make a Difference
When it comes to actually sewing linen, small adjustments to your usual techniques can make a huge difference in the final result. Just like how I encourage focusing on one new skill at a time with other projects, master these techniques one by one:
Key machine settings:
- New, sharp needle (70/10 or 80/12)
- Stitch length 2.5–3mm
- Reduced presser foot pressure if possible
Remember that pressing is absolutely crucial with linen. Think of it as sculpting your garment rather than just smoothing it. I've found that proper pressing can transform a homemade-looking project into something that looks professionally crafted.
5. Pattern Selection and Final Tips
Choose patterns that work with linen's natural properties rather than against them. Just as you want to match your skill level to your project, you want to match your fabric choice to your pattern.
Selecting the right pattern for linen is crucial for success. I've found that designs with fewer seams and looser fits tend to work beautifully. Some of my favorite Seamwork patterns for linen include:
When I'm planning my seasonal wardrobe, I often turn to linen for its versatility and timeless appeal. It's perfect for creating those core wardrobe pieces that you'll reach for again and again.