Sign In

After nearly 30 years of sewing, I can confidently say I've made every beginner mistake in the book. Some of these took me years to figure out! If you're just starting out, fast-track your skills by avoiding these 10 common sewing pitfalls—and save yourself time, frustration, and wasted fabric along the way.
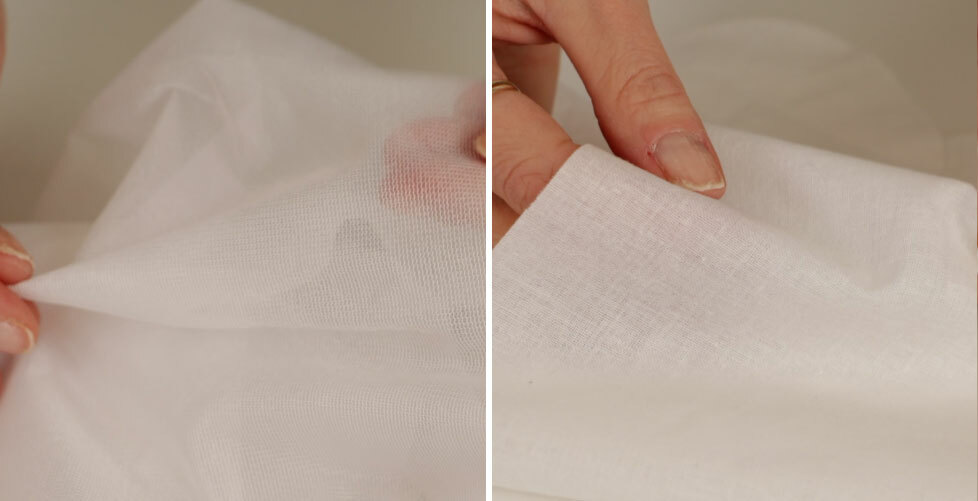
1. Using Cheap Interfacing for Everything
Those inexpensive rolls of interfacing at the fabric store are tempting, but the wrong interfacing can make your handmade clothes look, well, handmade. Have you ever noticed a neckline that feels stiff or bulky compared to store-bought clothes? That’s likely due to heavy, low-quality interfacing.
Instead, invest in lightweight fusible knit interfacing. It’s versatile, easy to work with, and adds structure without stiffness. I keep several yards of it in my sewing room and use it for 80-90% of my projects.
Here’s a helpful article: How to Choose the Best Interfacing For Your Sewing Project.
2. Skipping Pre-Washing
I get it—you’re excited to dive into a new project. But skipping pre-washing can lead to heartbreak. Imagine spending hours on a perfect dress, only for it to shrink two sizes after its first wash!
Pre-wash your fabric the same way you plan to wash your finished garment. Be careful with fabrics like wool that need special care. Some fabrics should be hand-washed or dry-cleaned instead of thrown in the washer. Always double-check before you begin.
Want to know what happens if you don’t pre-wash your fabric? Read this: Do You REALLY Have to Pre-wash Fabric?
3. Using the Wrong Needle for Your Fabric

If your fabric is bunching, your thread keeps breaking, or your machine sounds strange, your needle might be to blame. Just like you wouldn’t wear running shoes for hiking, you shouldn’t use the same needle for all fabrics.
Match your needle type and size to your fabric: sharp needles for woven fabrics, ballpoint needles for knits, and thicker needles for heavier materials. It makes a world of difference!
Want to learn all about which needle is best for your sewing machine? Read this: How to Choose the Best Needle For Your Sewing Project.
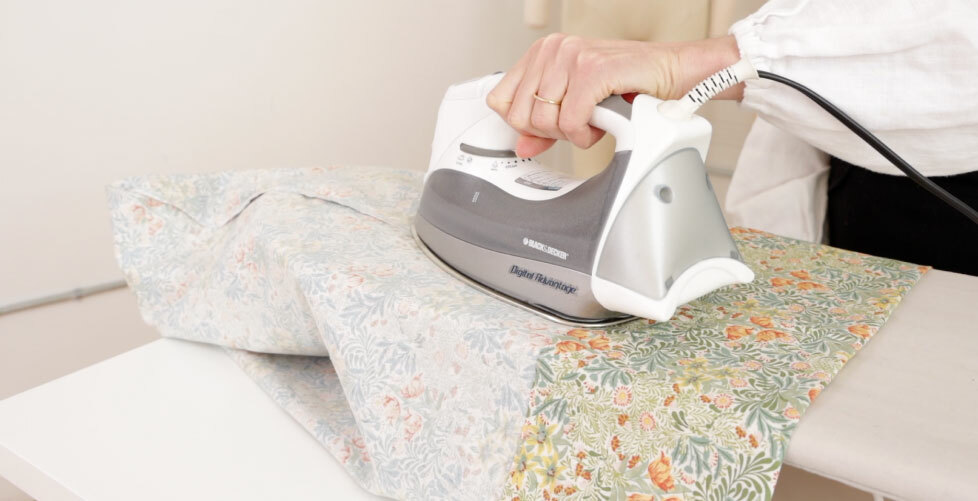
4. Not Pressing as You Sew
Pressing (not ironing!) between steps is crucial for professional results. When you skip pressing, seams can pucker or create unwanted folds—and once your garment is finished, there’s no fixing that.
Remember: pressing means lifting the iron up and down, not sliding it side to side. Take your time, and press those seams!
Want a detailed pressing tutorial? Read this: How to Press Fabric.
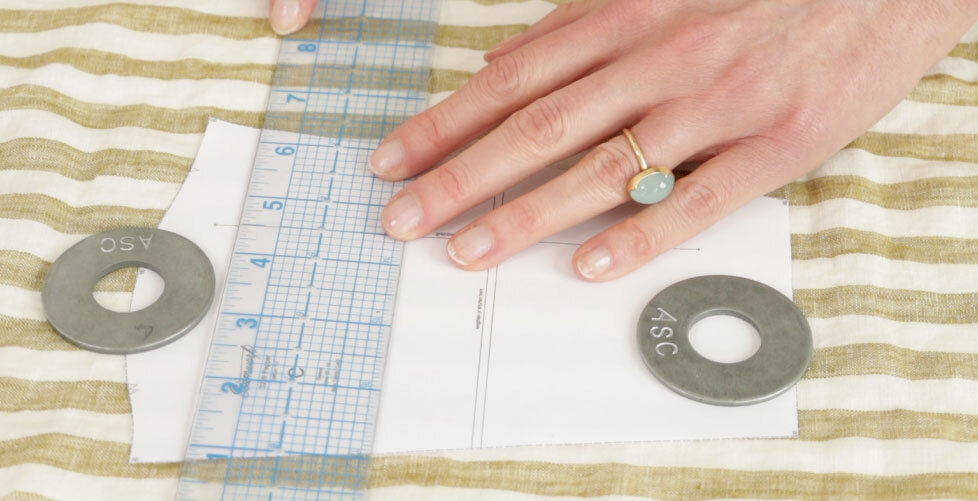
5. Ignoring the Grainline When Cutting
The grainline arrow on your pattern pieces isn’t just a suggestion. Cutting off-grain can distort how your garment fits, drapes, and stretches.
Here’s an easy way to ensure accuracy: measure from the grainline arrow to the selvedge at two points. Make sure both distances are the same before cutting.
Want to learn all about the grainline? Read this: Do You REALLY Have to Cut Your Fabric on the Grainline?
6. Not Trying Things On as You Sew
Don’t wait until your garment is nearly finished to check the fit. Catch issues early when they’re still easy to fix.
Try on your project before inserting sleeves, attaching facings, or hemming. Small tweaks at this stage can make a big difference.
7. Choosing the Wrong Fabric for Your Project
Fabric choice can make or break your project. As a beginner, stick with stable, easy-to-sew fabrics like cotton lawn, voile, or linen. These fabrics are forgiving and great for learning.
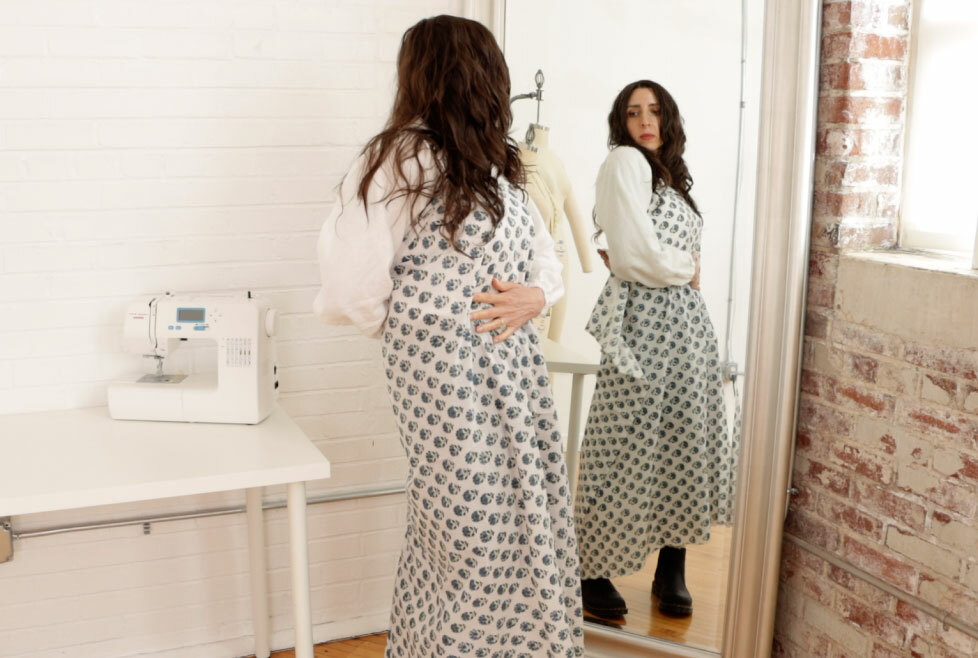
Here’s a trick: drape the fabric over your body in front of a mirror. It’ll help you visualize how the fabric will behave when sewn up.
Want to learn how to shop for fabric online like a pro? Read this: How to Shop For Fabric Online: A Beginner’s Guide to Buying Fabric With Confidence. You’ll learn how to decode product descriptions and understand fiber content, stretch, and weight—so you choose the right fabric every time.
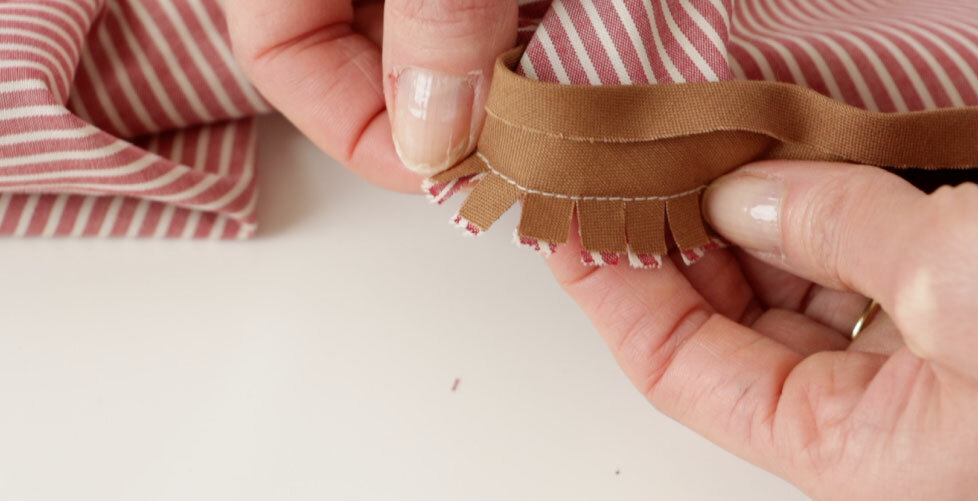
8. Rushing Through Curves
Curved seams—like necklines or armholes—need extra care. If you rush, you’ll end up with puckered seams.
Take it slow, and don’t forget to clip or notch the seam allowance. For inside curves, clip evenly about every quarter inch. For outside curves, notch small triangles to reduce bulk.
Want some more specific help? Read this: Clipping and Notching.
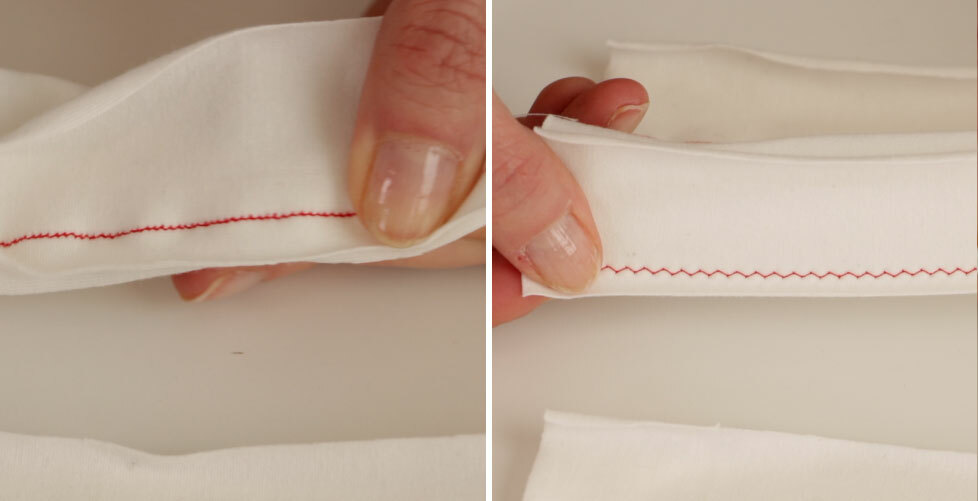
9. Using a Straight Stitch on Stretch Fabrics
Sewing knits? A straight stitch won’t cut it. If your fabric stretches but your stitches don’t, seams will pop.
Use a zigzag stitch or a lightning stitch for stretch fabrics. Test stitch length and width on a scrap first. I often start with a width of 1.5 and length of 2.5, adjusting as needed.
Want to learn how to sew with knit fabrics? Read this: How to Sew With Knit Fabrics: A Resources Round-up.
10. Ignoring Specialty Presser Feet
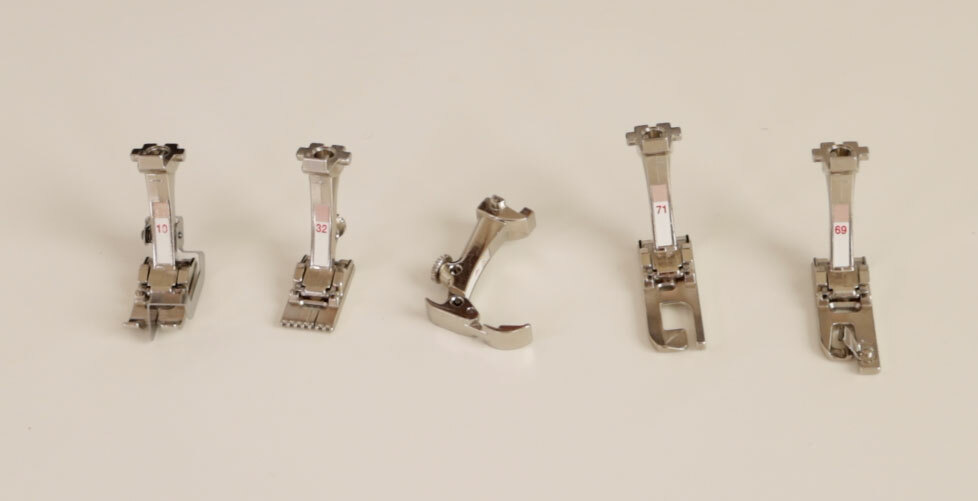
I used to avoid specialty presser feet because they seemed intimidating, but they’re game-changers! These tools make tricky tasks easier and help achieve professional finishes.
A rolled hem foot creates perfect tiny hems, while an edge-joining foot makes adding lace or trims a breeze. Learn what each presser foot does—you’ll feel like you have a whole new set of sewing skills.
Not sure which other presser feet are worth it? Read this: The 10 Best Presser Feet For Sewing Clothing
Bonus Tip: Use Stabilizers for Delicate Fabrics
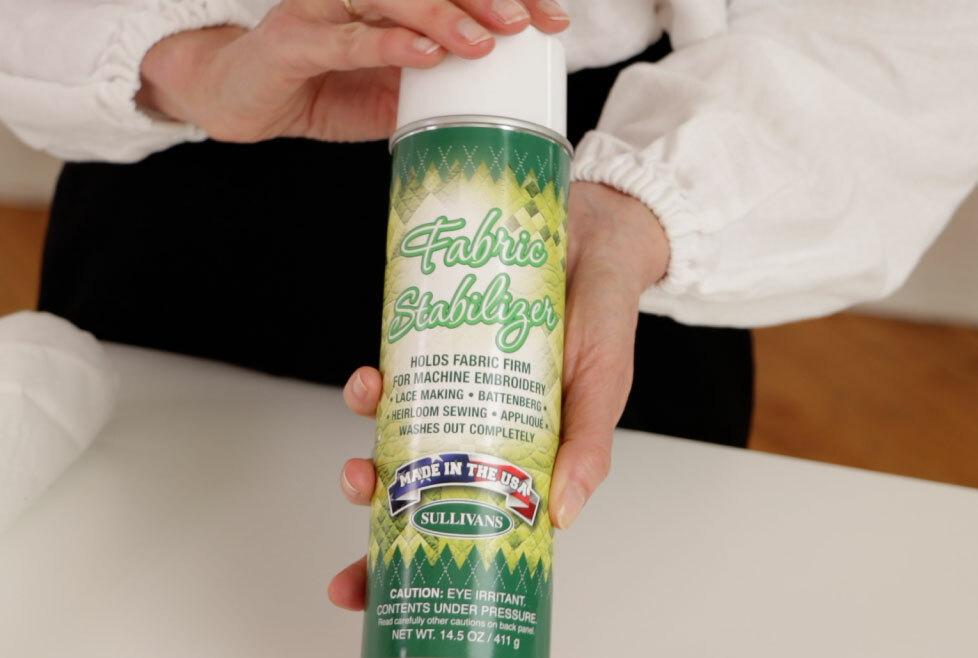
When sewing lightweight or slippery fabrics, a good stabilizer is your best friend. Stabilizers like tear-away, wash-away, or spray starch provide temporary control and prevent puckering.
For delicate projects, spray stabilizer gives fabric just enough body to sew smoothly and washes out completely when you’re done. Even a little regular starch can make tricky fabrics so much easier to work with.
Want even more tips for sewing with delicate fabrics? Read this: How to Sew With Silk.
Avoid these mistakes, and you’ll be on your way to creating garments that look polished and professional—and that you’ll be excited to wear! What are some beginner mistakes you’ve made? Share your stories in the comments.