Sign In

Have you ever finished a garment, tried it on, and felt that something just wasn't quite right? That slightly "homemade" look can be frustrating when you've put so much time and care into your project. Today, I'm sharing the top 5 signs that might be making your handmade clothing look less polished than you'd like—and more importantly, the simple solutions to fix them.
Before we dive in, let me be clear: there's absolutely nothing wrong with clothing looking homemade! Sewing should be fun and playful, and perfectionism can really get in the way of that joy. My goal isn't to make clothes that look store-bought, but rather to give each garment the attention it deserves to make it both beautiful and long-lasting.
Stiff, Bulky Facings
Let's talk about one of the most common culprits of that homemade look: stiff, bulky facings. If you've noticed your necklines and armholes looking oddly rigid compared to your favorite ready-to-wear pieces, your interfacing might be the problem.
When I first started sewing, I made the same mistake many beginners do—I'd grab whatever basic fusible interfacing I could find at the craft store, assuming all interfacing was created equal. But just like how we carefully choose our fashion fabrics, selecting the right interfacing
can make a huge difference in your final results.
Solution: Start Light
When in doubt, choose a lighter weight interfacing than you think you need. You can always add structure in other ways, but you can't make a stiff facing more flexible once it's fused.
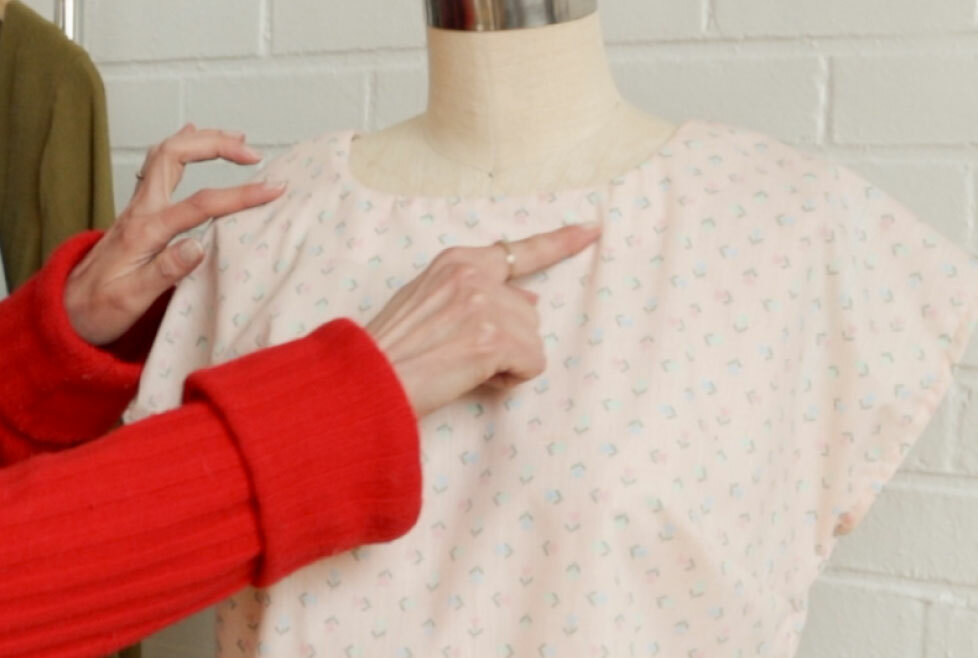
The "Pop-Out" Problem: Keeping Facings in Place
One of the most frustrating issues that can make your handmade clothing look less than professional is facings that refuse to stay put. You know what I mean—those pesky neckline and armhole facings that keep rolling to the outside, making your beautiful garment look a bit wonky.
If you've been skipping the understitching step in your pattern instructions (don't worry, we've all done it!), this is your sign to give it a try. Understitching is truly the foundation of well-behaved
facings.
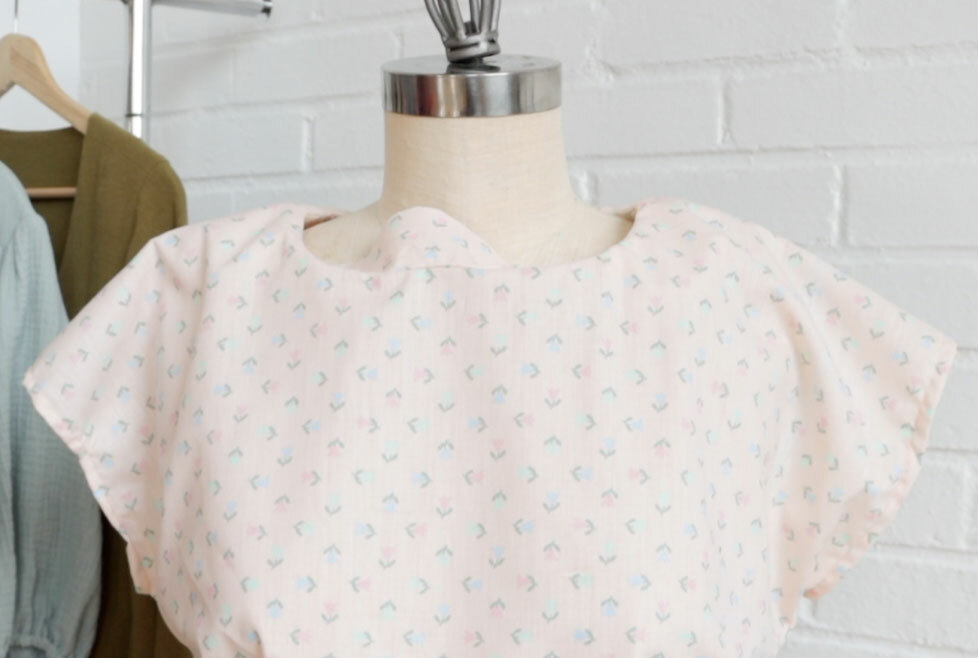
Sometimes understitching isn't possible, or you're working with a particularly stubborn fabric. That's when edgestitching comes to the rescue. While this technique will be visible on the outside of your garment, it can actually become a beautiful design detail that adds a tailored look to your piece
Remember: Your Pressing Matters
Remember how we talked about proper interfacing earlier? Well, the success of these techniques also depends on good pressing. Take time to press your facings properly after each step—it makes a world of difference in the final result.
Make Those Seams Stunning: Finishing Raw Edges Like a Pro
When I first started sewing, I was mystified by how store-bought clothing looked so clean and professional on the inside. Meanwhile, my seam allowances were fraying and looking a bit... well, messy.

Raw, unfinished seams aren't just about aesthetics—they can actually compromise the longevity of your garment. Think about it: every time you wash your handmade piece, those raw edges are at risk of fraying and weakening. But don't worry! There are several professional techniques you can use, even without a serger.
One of the simplest ways to start finishing your seams is with a zigzag stitch. This is a great beginner-friendly option that prevents fraying and adds durability to your garments.
Finishing Options (without a serger):
For lightweight fabrics:
- French seams
- Narrow rolled hems
- Light bias binding
For medium-weight fabrics:
- Turned and stitched edges
- Basic zigzag finish
- Hong Kong binding
For heavyweight fabrics:
- Flat-felled seams
- Simple zigzag
- Bound edges
Finding Your Perfect Fabric Match
When I first started sewing, I was like a kid in a candy store at the fabric shop. Those beautiful quilting cottons with their irresistible prints would call my name every time. But after making a few garments, something just wasn't quite right—they never draped the way I imagined.
Here's what I've learned: choosing the right fabric is absolutely crucial for creating clothing that looks and feels professional. Just like we discussed with interfacing and seam finishes, it's all about matching the right material to your project.
The Drape Test
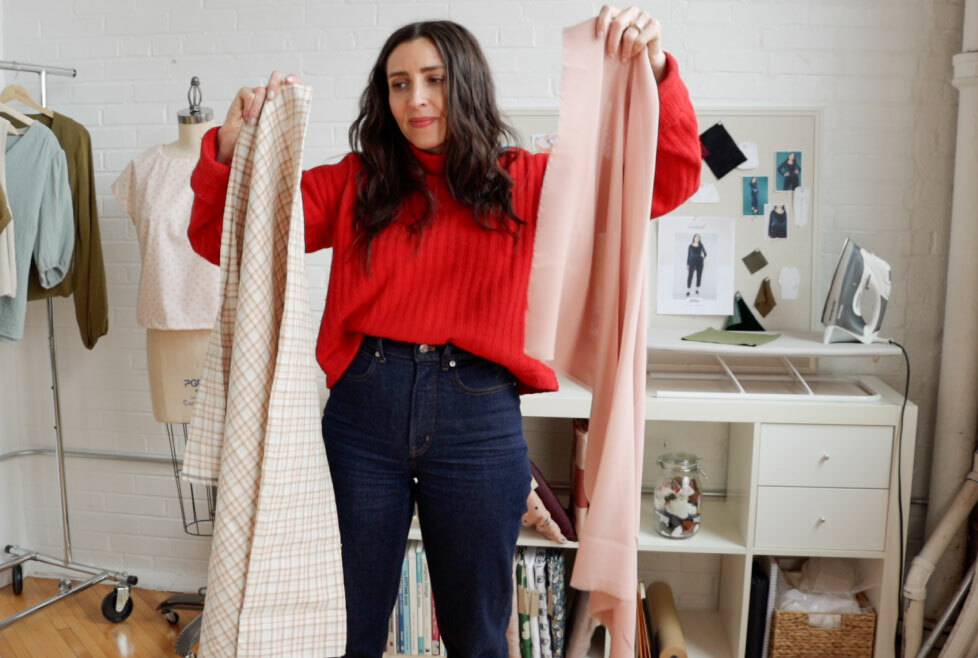
Before you commit to any fabric, try this simple test I've developed over years of sewing:
1. Drape the fabric around your body or dress form
2. Observe how it falls
3. Imagine it in the shape of your planned garment
4. Notice if you're fighting with the fabric to make it behave
The Power of Pressing
When you iron, you slide the iron back and forth across fabric. But pressing is more intentional—you lift and lower the iron in an up-and-down motion. This simple change in technique makes a huge difference in your results.
The Essential Steps of Pressing
Here's my tried-and-true pressing method:
1. Press Your Fabric Before Cutting
Start with well-pressed fabric—it's much easier to cut accurately and sew smoothly when your fabric is wrinkle-free.
2. Press Seams As You Go
Never skip pressing between steps. Press each seam before inserting sleeves, attaching facings, or working on your hem—small adjustments at this stage make a significant difference in your final garment.
Common Pressing Mistakes to Avoid
One frequent mistake I see is rushing through curved seams. Take your time with necklines and armholes—these areas need extra care and attention to prevent puckering.