Sign In

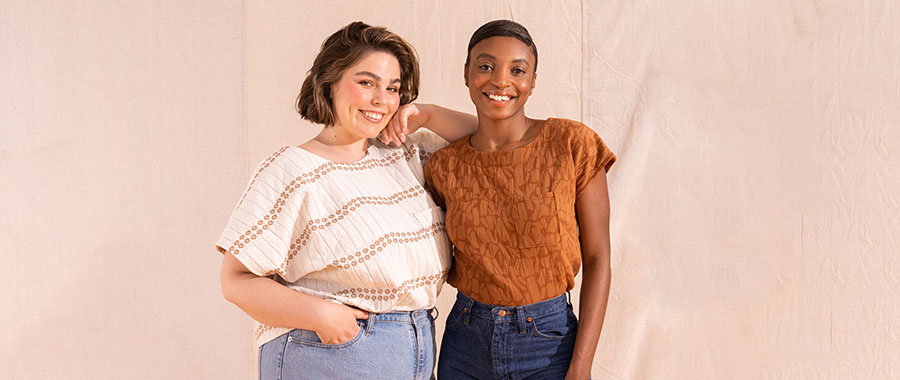
Creating your own clothes is an incredible way to express yourself. You’re the designer, the maker, and the one who brings it all to life. Each piece reflects your style, choices, and individuality.
Knowing how to make a piece of clothing is like learning the secrets behind a magic trick. Not only are you discovering a new capability you didn’t know you had, you gain the ability to transform flat fabric into something tangible, functional, and entirely your own.
Learning how to sew clothes is a skill that builds over time, starting with small, manageable steps, and growing into a craft that gives you total creative freedom. It’s not just about making clothes—it’s about making something uniquely yours.
If you are totally new to sewing and you’ve never even sewn a stitch, you might find this article more helpful: How to Sew Clothes (If You’ve Never Sewn Anything Before). It will help you assemble a sewing kit, practice basic seams, and even work through a fun beginner tote bag project.
But if you’ve already sewn a tote bag, pillowcase, or some other beginner project and are ready to tackle your first piece of clothing, this article will guide you through every step of sewing a simple garment, with plenty of ideas for starter patterns.
Step 1: Choose Your First Garment
Start with something simple and forgiving. When you’re first starting, trying something super complicated is unnecessary. Get a few wins under your belt first, then you can tackle a wrap dress or pair of jeans.
When picking out a pattern, look at these four qualities:
Fabric: Start with a project that doesn’t require anything too slippery. Wovens are great because they are very stable, and you can use a regular straight stitch. Check out the list of fabrics below for more details.
Closures: Zippers and buttonholes can be intimidating to some people. For your first few projects, look for patterns that don’t have too many complicated closures. For example, choose a skirt with an elastic waist rather than a zipper. Pick a shirt that pulls over your head rather than one that closes with buttons.
Fit: Adjusting patterns to fit your body is a whole different beast, and it’s one that you can only tame with a bunch of time and practice. So don’t let it intimidate you! Start with a project that’s easy to fit. Look for something not very tight on your body, without darts or much shaping.
Approachable techniques. Read the pattern’s description and see if it sounds like you’ll need to use a bunch of new skills. Look for a pattern that only involves one or two new skills, so you don’t get overwhelmed.
Here are some Seamwork patterns that are ideal for your first project. They’re beginner-friendly, but they’ll teach you some really great fundamental skills.
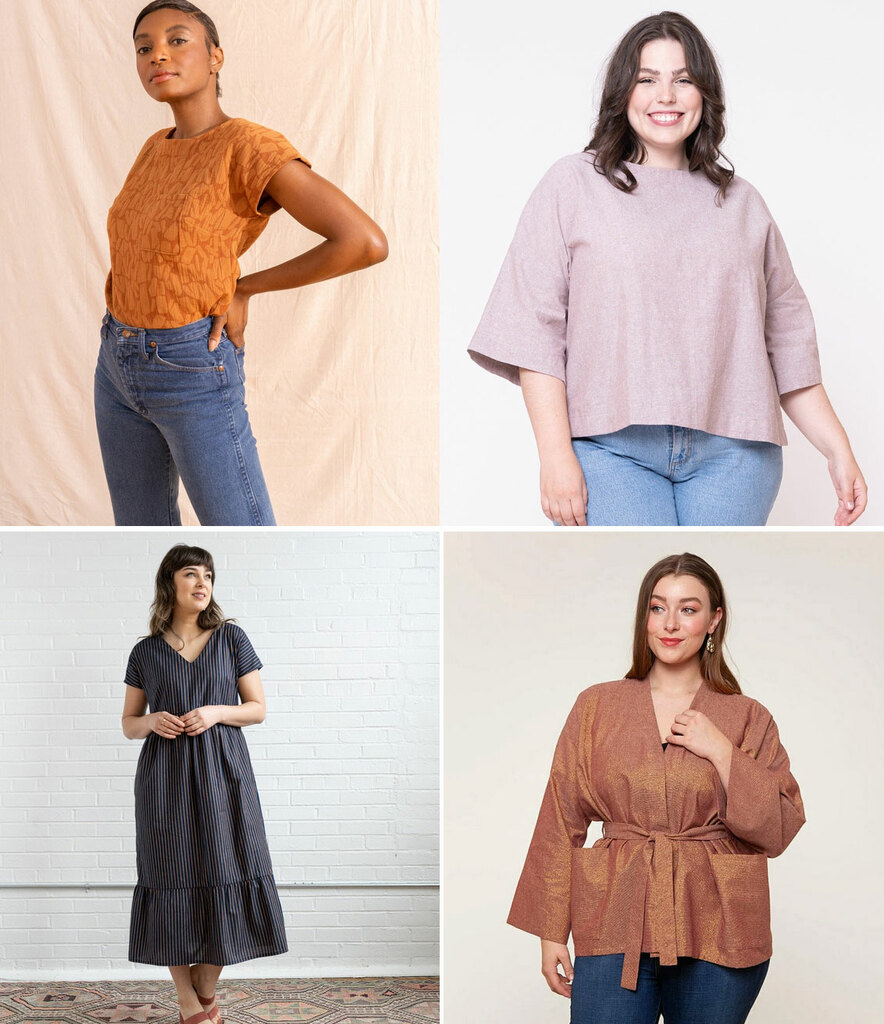
The Hansie top is a FREE pattern with a free sewalong class, so it’s a really great option for your first garment. It will teach you the total basics for constructing a garment, and when you’re done, you’ll know how to attach a facing, sew darts, and sew a patch pocket. These are sewing skills you’ll use forever! If I were to start over as a beginner, this would probably be the project I’d start with, especially since it has a full sewalong.
If you prefer long sleeves, try the Samson top. It will teach you the very basics as well. One of the best things about this pattern is that you can sew it in either knits or wovens, so it’s one of those patterns you can make over and over in different fabrics.
If you want to make a dress, try try the Benning sewing pattern. This dress will teach you how to gather fabric and sew a V-neck. There are no closures and this dress works in a bunch of beginner-friendly fabrics.
The Quince jacket is a fun beginner project, because it feels (and looks) like a really professional project, but it’s totally approachable for your first garment. In fact, we use this pattern in our Learn to Sew Clothing: For Absolute Beginners course. This is a great course for total beginners!
If you’re not ready to sign up for the course, you can take the free mini-course and get lessons emailed to you. You’ll also get a free downloadable book that covers the tools, equipment, skills, materials, and patterns you need to start sewing your own clothing.
Step 2: Pick the Right Fabric
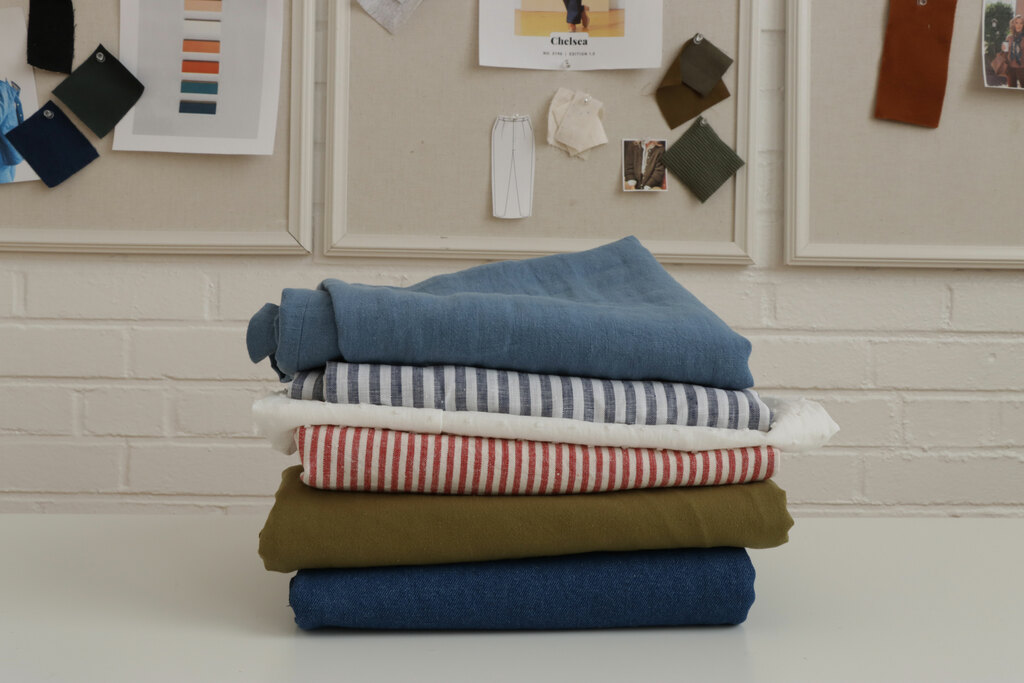
The type of fabric you choose can make a huge difference in how smooth and enjoyable your sewing experience is. Here are a few tips to help you pick the right fabric for your first project.
Wovens are a great choice for beginners. Fabrics, like lightweight cotton or linen, are stable and don’t stretch, which makes them much easier to handle.
These fabrics also press well, so you can create crisp seams and edges. Plus, they come in a huge variety of colors and prints, so you’re sure to find something you love!
While most people learn to sew clothes starting with woven fabrics, you can still learn with a stable knit fabric if you prefer to wear stretch garments.
Knit fabrics like cotton jersey are soft, stretchy, and forgiving when it comes to fit. They’re great for comfortable garments like t-shirts, leggings, or simple dresses.
Knits can be a little trickier to sew because they stretch and require special needles or settings on your sewing machine. If you want to try sewing with knits, start with a cotton jersey that has minimal stretch (about 25% stretch). Avoid slinky or very stretchy knits for your first project—they can be harder to manage.
Here are some of the most approachable fabrics for beginners. Keep this list handy—you’ll also find it in the free Learn to Sew download mentioned above—and you'll always have options when you're at the fabric store.
- Twill (think denim) is stable and easy to sew.
- Linen is an ideal fabric for so many garments, and you can wear it year-round.
- Lawn and voile are much better for garments than quilting cotton, but still come in fun prints.
- Double gauze is such a dream to wear.
- Rayon challis is easy to sew and gives you a draping, swishy silhouette.
- Ponte is a really stable knit, great for beginners. It can be sewn just like a woven fabric.
- Merino jersey is also easy to sew, and it’s a natural fiber (from sheep!).
- French terry is cozy, easy to sew, and wicks moisture.
- Hemp or linen knits will give you a ready-to-wear look.
- Rib knits are comfortable and super stretchy.
If you want to read more about these fabrics, this article will help (and it has pattern ideas!): Our Top 10 Favorite Fabrics and Where to Find Them.
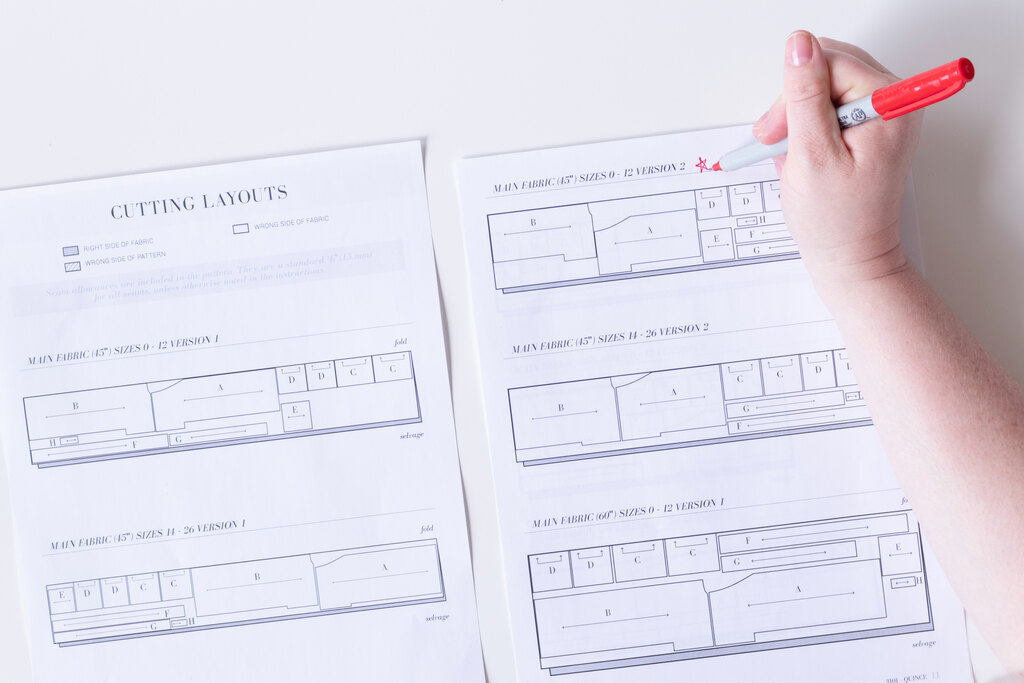
Step 3: Learn How to Read a Pattern

Think of a sewing pattern as a roadmap for a sewing project. This map contains all the information you need to select a size, fabric, and construct a garment from cutting to hemming.
Though there are many pattern companies and the presentation of information may change slightly from manufacturer to manufacturer, the key information will remain the same.
When you’re first starting to work with sewing patterns, take the time to read all of the instructions before you start sewing.
Here’s a tutorial that will help you learn how to read and understand a sewing pattern: The Anatomy of a Sewing Pattern.
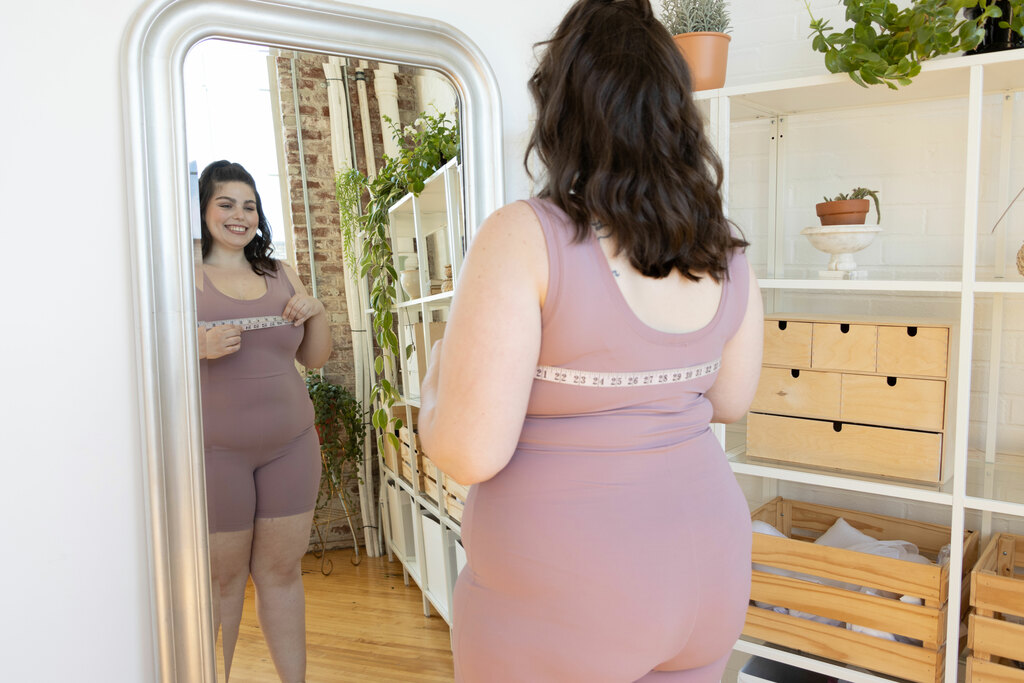
Step 4: Pick Your Size
Choosing the right size for your sewing pattern is a little different from buying ready-to-wear clothing. Start by taking your measurements—typically, this includes your bust, waist, and hips.
Use a flexible measuring tape and measure yourself over lightweight clothing for the most accurate results. Compare your measurements to the size chart provided in the pattern.
If your measurements fall between sizes, don’t worry! It’s common to blend sizes by drawing a line between them on the pattern, especially for multi-size patterns. We have an easy video tutorial for blending between sizes here: How to Blend Between Sizes on a Sewing Pattern.
For your first garment, choose the size that most closely matches your largest measurement—this will make adjustments easier as you sew.
If you’ve never taken measurements before, watch this video and read the article: How Measurements Make Your Sewing Better.
One of the concepts you’ll learn about is ease. Patternmakers add ease to a pattern to both allow you to move comfortably and to achieve the desired fit and silhouette for the design. Don’t worry about it too much for your first project, because you’ve likely already chosen a pattern with forgiving ease! All of the patterns mentioned above are easy to fit.
Step 5: Prepare Your Fabric and Pattern

Before you sew, you need to prepare a few things.
Wash and dry your fabric according to the manufacturer’s instructions. Pre-washing your fabric prevents shrinking after you sew—plus it can wash off any excess dye or dirt from the fabric.
What happens if you don’t pre-wash? Read this to find out: Do You Really Have to Pre-wash Fabric?
Press the fabric. Smooth fabric is easier to cut and sew. Pressing is not the same as ironing. To press, place your iron on the fabric and apply pressure up and down, not back and forth as you do when ironing. The up-and-down motion prevents distorting and stretching your fabric. Here’s a detailed tutorial for how to press (not iron) fabric.
Trace or cut your pattern: If using a printed or PDF pattern, cut along your size lines or trace onto tracing paper to preserve the original.
This article will help you pick paper for tracing patterns: What’s the Best Paper for Tracing Patterns?
On our Help Site, you can find a detailed tutorial for working with PDF patterns: How to Download and Print Digital Patterns.
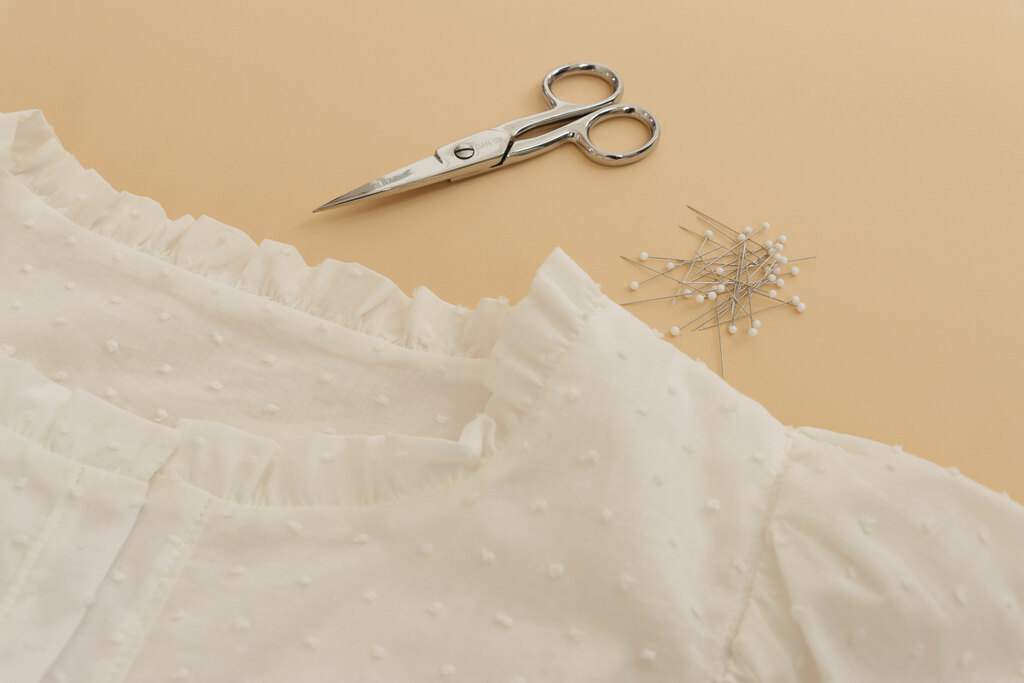
Step 4: Cut Your Fabric
Cutting fabric accurately is key to a successful project.
Lay the fabric flat. The cutting layout (included in the pattern instructions) will tell you whether fabric should be folded in half or whether you should cut it on a single layer. If your pattern is cut on the fold, you can fold your fabric selvage to selvage.
Pin the pattern pieces or use pattern weights to keep them in place. Align the grainline marking (usually double arrows) on each piece with the fabric’s grainline. If you need help with the grainline, this tutorial covers it all: Do You Really Have to Cut Fabric On the Grainline?
Cut carefully: Use fabric scissors or a rotary blade and cutting mat.
If you want to learn more about cutting out fabric for garments, here’s another article that will really help: How to Cut and Mark Fabric.
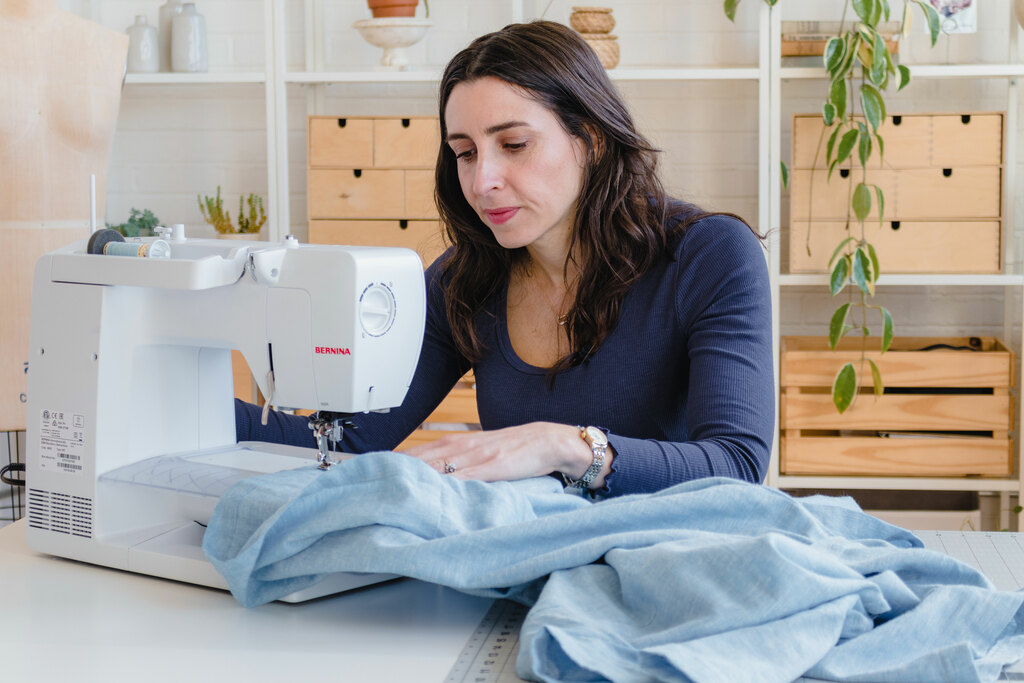
Step 5: Practice Garment-Specific Sewing Skills
Each garment introduces you to new skills. If the garment you are making has a technique you are not familiar with, get a scrap of fabric and practice it first.
Here are a few you might encounter. Get into the habit of pausing to google any unknown techniques and practicing them on scrap fabric before sewing your project.
-
Sewing seams: Use a straight stitch for woven fabrics or a zigzag stitch for knits. -
Finishing seams: Use a zigzag stitch, serger, special seam finishing technique, or pinking shears to finish the raw edges and seam allowances on your project so it doesn’t fray. -
Hemming edges: Fold the raw edge twice and sew for a clean finish. -
Creating a casing for elastic (for skirts and pants): Fold and sew the waistband to create a tube for the elastic. -
Edgestitching: A row of stitches sewn very close to the seam line. You'll often edgestitch to reinforce seams, secure pockets, or create a neat, finished look. -
Topstitching: Stitching applied to the right side of a garment. Topstitching is sewn close to the seamline and can be used decoratively, but it is often used to strengthen and reinforce seams.
Bonus Tip: Learn New Sewing Skills Quickly

Here’s the best method for building your sewing skills quickly: focus on learning one new skill with each project.
Here’s how it works:
- Pick a pattern you’re excited about that introduces a small challenge, like an elastic waistband or topstitching.
- Identify 1-2 skills in the pattern that are new to you.
- Gather resources to learn those skills before you begin, like video tutorials or written guides.
Get this free sewing skills download, and you’ll find a list of all the fundamental sewing skills that you need to know.
Now you don’t have to sift through all the techniques wondering which ones are most important to learn as a beginner. Just follow this checklist.
By the way, this checklist includes all of the skills you’ll learn in the full Learn to Sew Clothing: For Absolute Beginners course.
Yep, if you take the full course, you’ll be able to check off each and every skill included on that list—and you’ll do it all while making a cute dress and a stylish jacket.
Step 6: Assemble Your Garment
Every garment will be a little different, so here’s a strategy for assembling any garment:
- Always read the instructions entirely before you start sewing.
- If you’re totally new, read this article to learn how to read a sewing pattern.
- Look up anything you don’t understand.
- Practice if you need to.
- Take breaks.
- Take it slow—sew in short sessions to avoid feeling overwhelmed.
- Join an online sewing community (like Seamwork) for tips, encouragement, and feedback.
When you’re all done, it’s time to practice the final step when you finish any sewing project. Use your iron to press your entire project so all the seams are crisp, and it’s totally wrinkle-free. You’ll feel like such a professional.
Step 7: Fit and Adjust
This is your first garment. Give yourself so much grace with the fit. Nobody is perfect the first time.
If you’re curious about learning how to fit clothes, we have so many resources. Learning how to fit is a skill you pick up just like the skills you’re learning right now sewing this garment.
Take our How to Fit With Confidence course and Haley will teach you an easy, stress-free framework for fitting clothes to your body.
Try all the tutorials listed in ourUltimate Guide to Fitting Techniques. We’ve rounded up a bunch of essential fitting techniques for you to learn.
If you join Seamwork, you get access to our private community with a fitting forum where you can ask questions to get fitting SOS from real people and the Seamwork team.
Step 8: Celebrate and Reflect
Congratulations—you’ve made your first garment!
Take time to appreciate what you’ve learned and consider:
What went well? What could you improve next time? What new techniques would you like to try?
By learning as you sew, you build your skills step by step without feeling overwhelmed. And don’t forget to celebrate each new skill you conquer!
You Got This
If you’re ready to jump into your next garment, here’s a list of a bunch of beginner-friendly Seamwork patterns you can try: 10 Easy Seamwork Patterns You Can Make in a Day.
Sewing your first garment is a huge milestone. With each project, you’ll gain skills and confidence, opening up a world of creative possibilities. Keep experimenting, and don’t be afraid to try new things—you’re officially on your way to building your handmade wardrobe!