Sign In

Sewing your own clothes is a radical act of self-expression. You get to play designer, manufacturuer, and model. You have total creative control over what you present to the world each day.
Learning to sew is like learning any new skill. It helps to start small, practice often, and, most importantly, have fun.
The team here at Seamwork has been teaching people how to sew clothes since 2014, but we often get asked, how do you start sewing if you’ve never sewn anything before, not even a single seam?
If this is you, then this guide will help you make your first-ever sewing project—a simple tote bag. It’s practical, easy to sew, and a great way to build your confidence with fabric and thread.
You might be thinking that you came to this article to learn clothes, so why would you start with a tote bag?
Well, first, every good outfit needs a good bag to go with it. Second, a tote bag will teach you the very basic basics so that you can feel confident sewing your first garment. Tote bags are low-risk, only have a couple of seams, and you’ll learn the very basic sewing vocabulary.
Garments tend to have more curves and the sewing patterns in general assume some knowledge. So a tote bag is a way to jump right in and get over any initial beginner nerves.
However, if you’re feeling really ready to sew your first garment, we have a course that will guide you through every detail you need to start sewing clothes, and you’ll walk away having made a new jacket and a dress. It’s called Learn to Sew Clothing: For Absolute Beginners and you can read all about it here. You also get a free Seamwork membership with the class, so you can ask any questions if you get stuck!
We also have a tutorial How to Sew Clothes: A Beginner’s Guide to Sewing Your First Garment that can give you a few pointers to start.
But if you just want to ease into the whole thing, follow the steps below and you’ll be sewing your own clothes in no time.
Step 1: Gather Your Supplies
Building a small but effective arsenal of sewing tools helps you cut and sew more accurately. But with all the tools and notions out there, what do you really need?
As part of our Learn to Sew Clothing: For Absolute Beginners course, you get a downloadable toolkit. You can actually get that toolkit here for free—and you’ll also get an email series with steps to help you sew your first garment.
In that download, you’ll find a checklist with tools that are must-haves and some that are nice-to-haves. So, go download it and start building your kit.
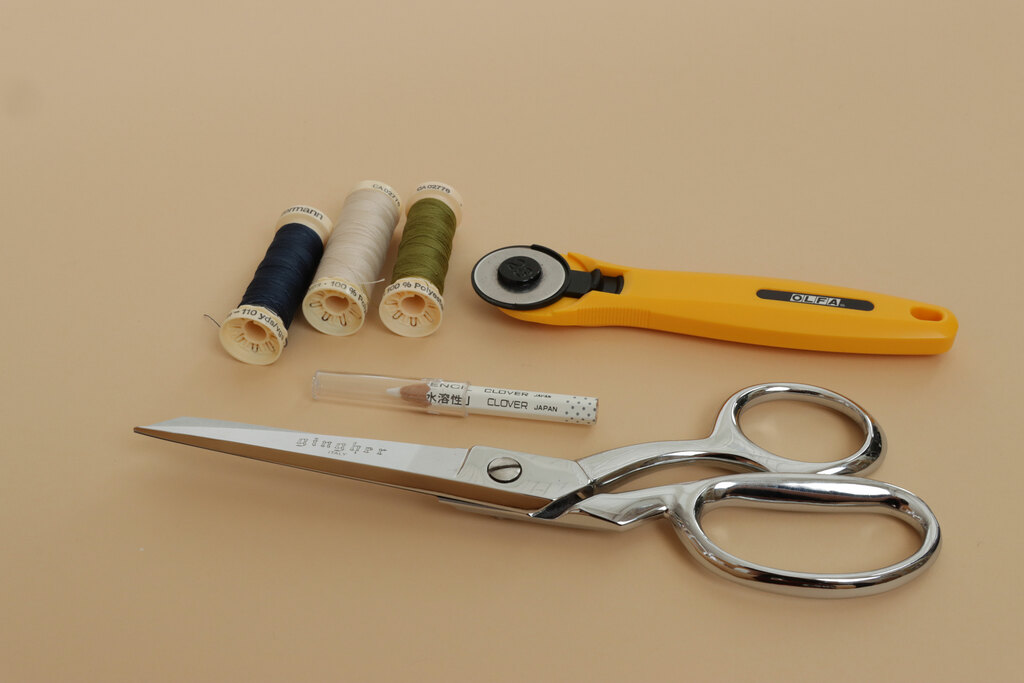
In general, when you are first starting to sew, you only need a few basic tools. You can build the rest of your toolkit later. Here’s the most basic starter sewing kit:
- Sewing machine (or hand-sewing needle and thread if you’re not ready for a machine yet).
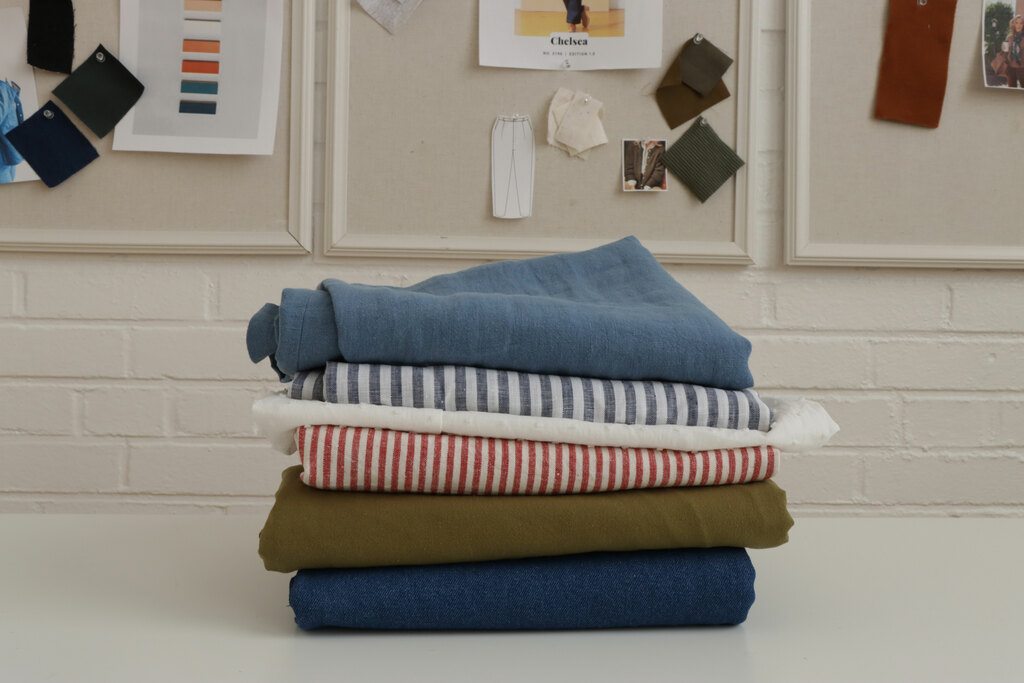
- Fabric: Quilting cotton will be the easiest for you to begin with, and it’s great for a tote bag. You can also choose a sturdy cotton canvas—just make sure it’s something easy to work with. More notes on fabric below!
- Thread: All-purpose polyester thread works well for your first project. When you’re ready to learn more about thread, we have an article all about different kinds of thread here.
- Fabric scissors: A sharp pair makes cutting easier.
- Rotary cutter and cutting mat: If you prefer to cut your fabric like this, you can start here. Otherwise, scissors work just fine.
- Pins or clips: To hold the fabric layers together.
- Measuring tape: For precise measurements.
- Chalk or fabric marker: To mark your fabric. We tested a bunch of different fabric markers here if you want to learn more.
- A trustworthy iron and ironing board.
As you start to build your toolkit, there are endless tools you can add to your arsenal. You can think about your sewing kit in three different categories:
- Needles, thread, and pins. These are the basic tools you’ll need along with your machine.
- Cutting, measuring, and marking. You can choose to use fabric shears and a marking tool, or you can buy a cutting mat and use a rotary cutter. Choose your adventure, add a measuring tape, and you’re good.
- Pressing tools. You’re going to spend just as much time at your iron as you do at your sewing machine. A trustworthy iron and ironing board are a must-have, but check out this list for some additional pressing tools that will really help.
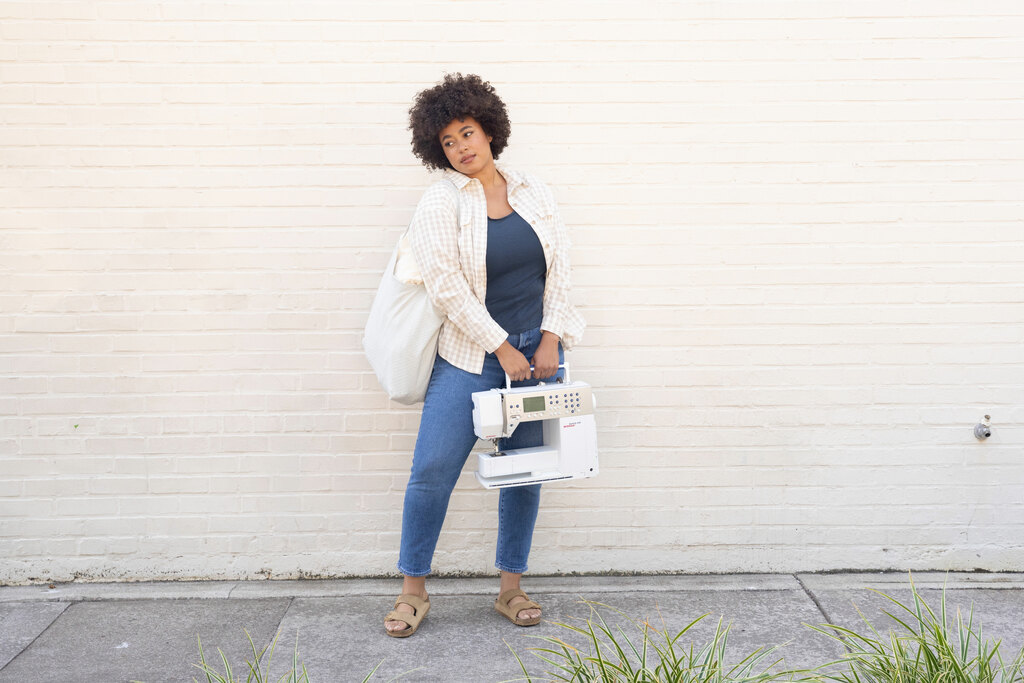
You might be wondering… if you’ve never sewn anything before, how do you even pick out a sewing machine? If you don’t have one already, your Learn to Sew download includes a very detailed guide to picking one out!
Follow the guide and you’ll have a new machine you love.
Step 2: Choose and Prepare Your Fabric
Fabric preparation is an important first step.
For your very first project, start with quilting cotton. You can upgrade to a denim or canvas next time, but stick to a fun, easy mid-weight fabric, like quilting cotton for your first attempt. Then you know the fabric isn’t an obstacle.
Wash and dry your fabric
Pre-washing your fabric prevents shrinking after you sew—plus it can wash off any excess dye or dirt from the fabric.
What happens if you don’t pre-wash? Read this to find out: Do You Really Have to Pre-wash Fabric?.
Press your fabric
Smooth fabric is much easier to cut and sew. By the way, pressing is different than ironing. Pressing is a large part of the sewing process. You press your fabric to remove wrinkles. You also press seams when you finish stitching them.
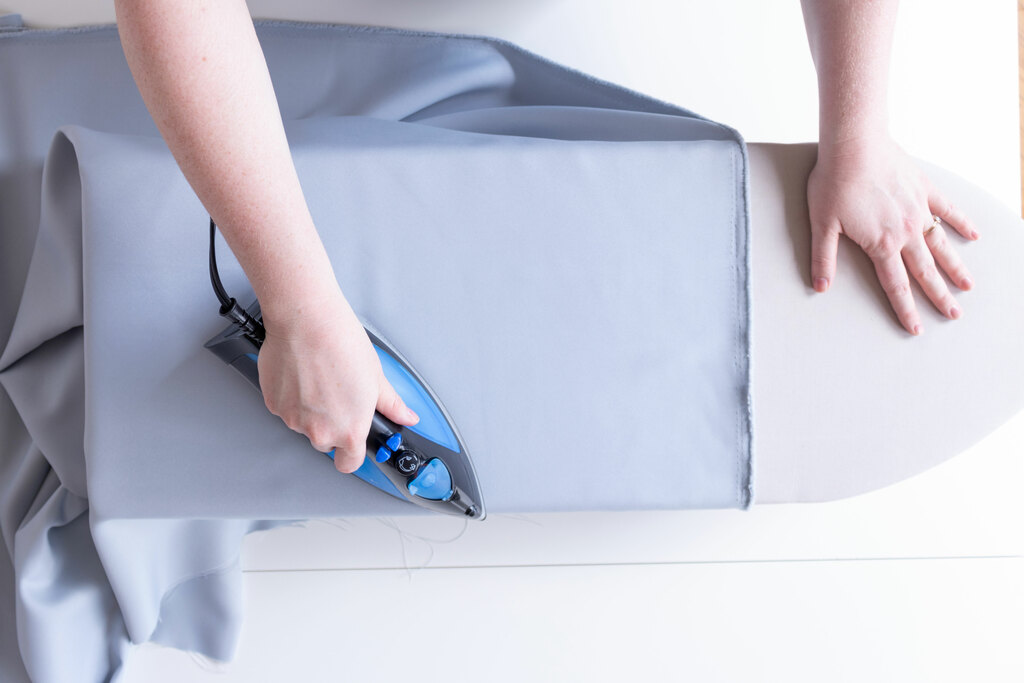
To press, place your iron on the fabric and apply pressure up and down, not back and forth as you do when ironing. The up and down motion prevents distorting and stretching your fabric.
Here’s a detailed tutorial for how to press (not iron) fabric.
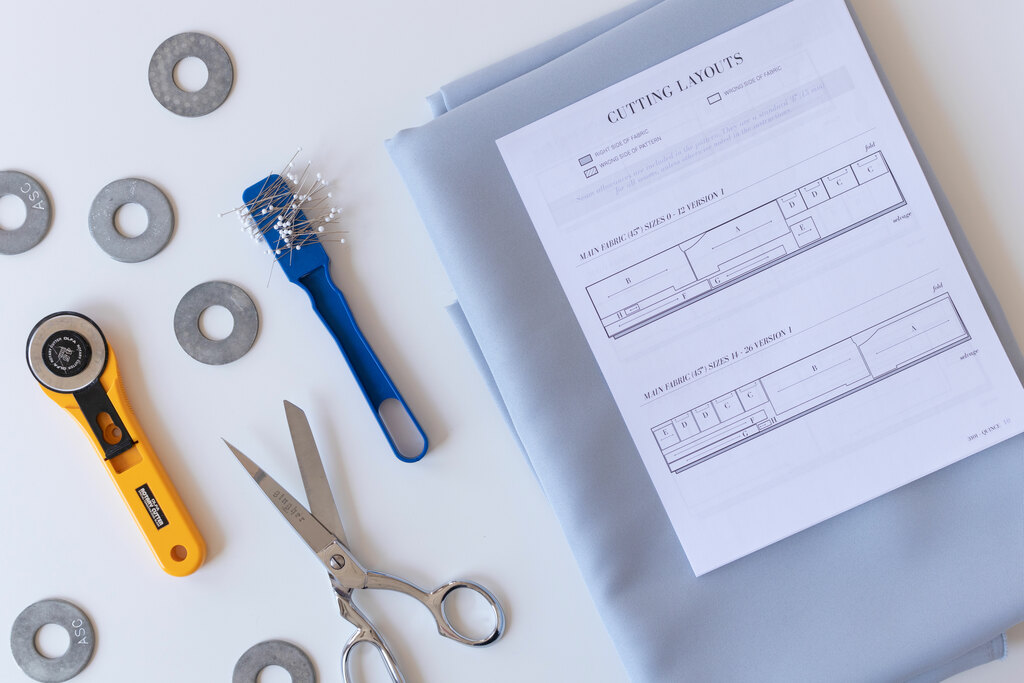
Measure and cut your fabric
When you are working with a sewing pattern, there will be a cutting layout for you to follow. You’ll place your pattern pieces on your fabric and cut them out.
Since you’re making a tote bag, you can just measure and cut a few rectangles—no pattern pieces necessary. See the tote bag tutorial below for all the details!
But before you make your tote bag, cut a few pieces of fabric to use to practice sewing. These can be any size, but if you want exact dimensions, cut out rectangles that are 6” long and 4” wide (15.25 cm by 10.16 cm).
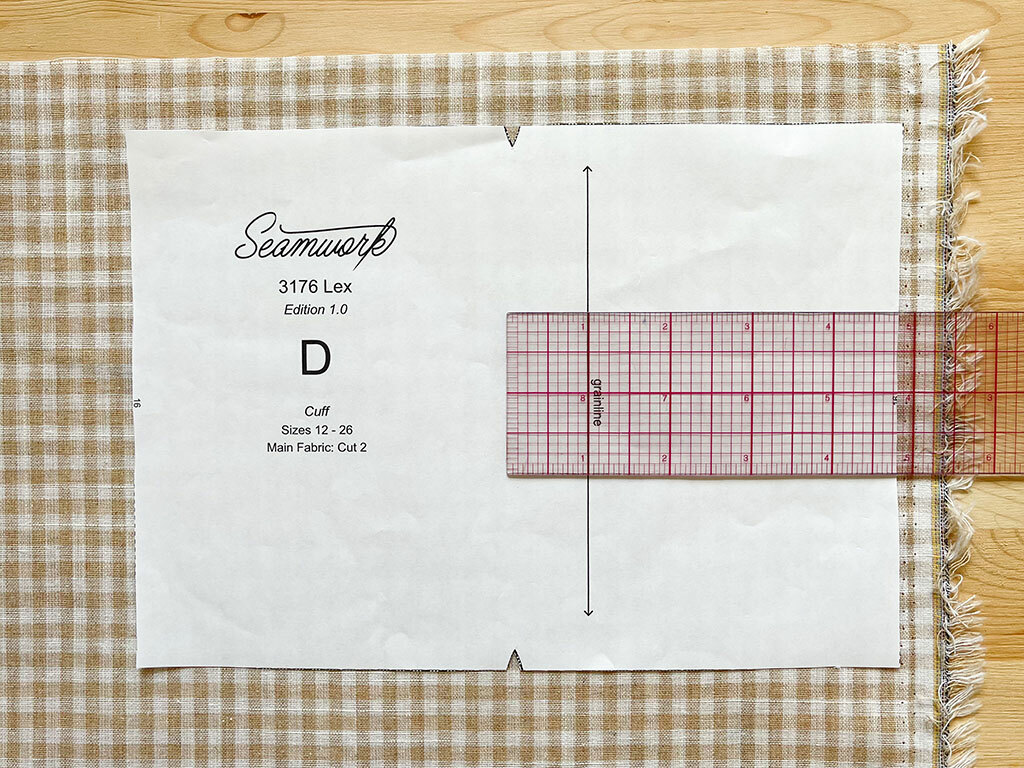
The most important thing for you to learn with your very first project, is how to cut fabric on the grainline. You'll align the grainline markings on your pattern pieces (usually arrows) with the grainline of your fabric.
What is the grainline? The grainline is the direction that fibers are woven in your fabric. You use the grainline to align your pattern pieces and cut your fabric, so it hangs nicely on your body.
In other words, cutting your fabric on grain means your finished project won’t look crooked.
Here’s an illustration.
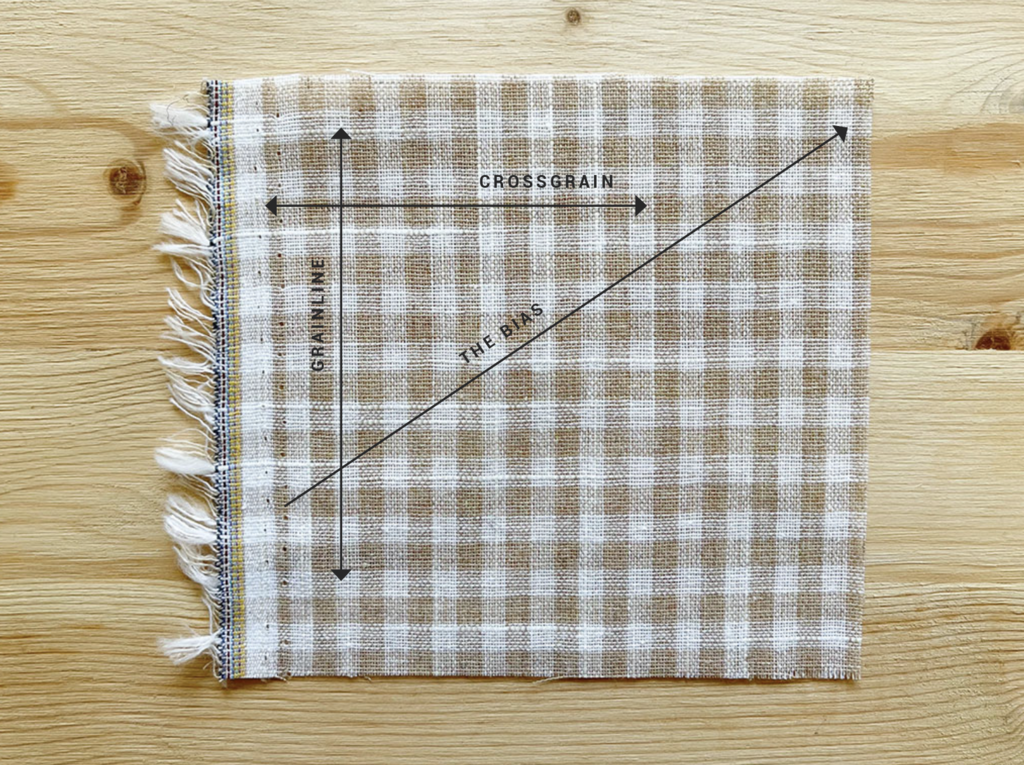
Since this is your very first project, just make sure to cut out your practice rectangles on grain. If you want to learn more about the crossgrain, bias, and all the details about the grainline, here is an article that will help: Do You Really Have to Cut Fabric On the Grainline?
If you want to learn more about cutting out fabric for garments, here’s another article that will really help: How to Cut and Mark Fabric.
Step 3: Get to Know Your Sewing Machine
If you’re using a sewing machine, take a little time to get acquainted with it. Here are a few exercises that will orient you to sewing basic stitches. And guess what? Every single thing you do on your sewing machine from now on will involve these simple stitches. How cool is that?
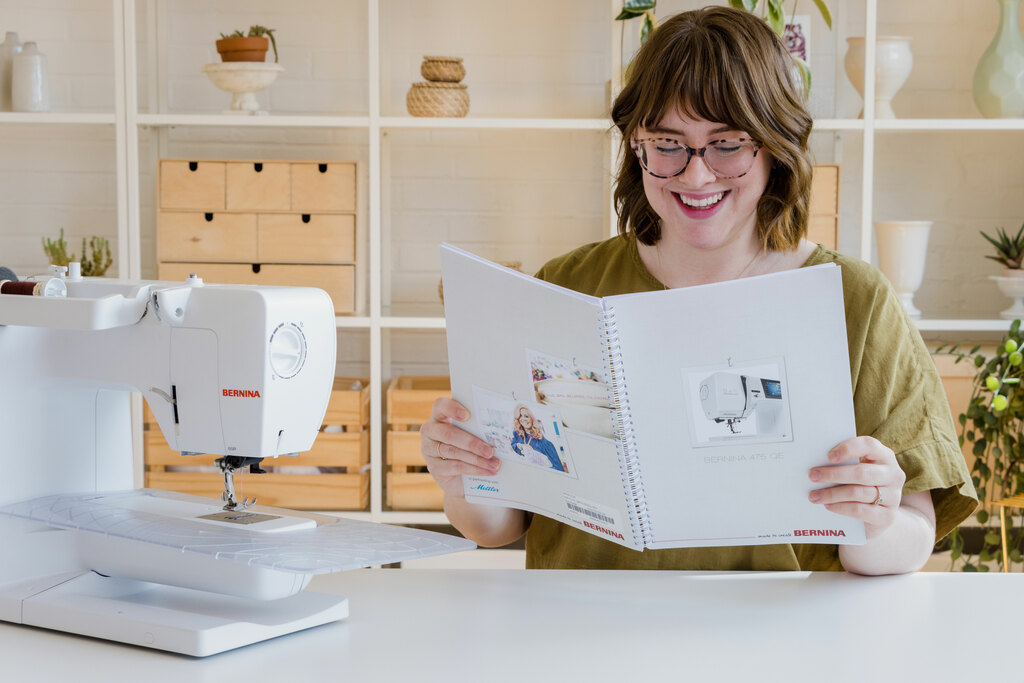
Practice threading the machine
Follow your user manual or find a beginner-friendly video online. Thread your machine a few times until it feels a little less foreign. Before you realize it, you’ll be able to thread it on autopilot.
Practice stitching
Sew a few straight lines on scrap fabric. You can draw a line with a pen and trace it. Don’t worry if it’s not perfect—this is just practice!
Stitch line: This refers to the location of your construction stitch.
Raw edge: This is the cut edge of your fabric.
Seam allowance: This is the distance between the stitchline and the raw edge. All patterns are drafted with a particular seam allowance in mind. It is important to refer to the pattern instructions to determine the recommended seam allowance.
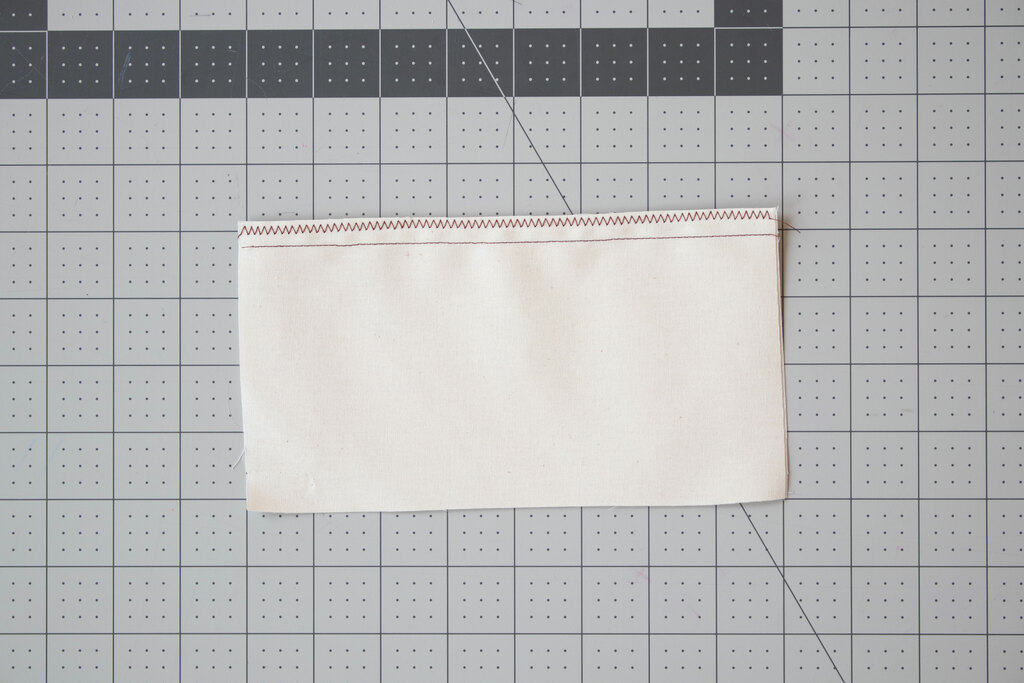
Try sewing a straight stitch and then a zigzag stitch. These are the two most common stitches you’ll use when sewing garments.
Try sewing 5/8” (1.5 cm) away from the raw edge of the fabric. This is a common seam allowance for sewing patterns.
Try finishing the raw edge of a piece of fabric with a zigzag stitch. This prevents it from fraying.
Try backstitching. A backstitch is 2 or 3 reverse stitches that secure the beginning and end of a seam to prevent it from coming undone. When you first start sewing a seam, sew a few stitches and then press the backstitch button on your machine. Backstitch 2 or 3 stitches and then resume sewing your seam as usual. Do this at the end of the seam as well.
Here is an article called How to Sew a Basic seam, which goes into all of this in more detail if you need additional support.
Try pivoting. This is a method for sewing when you reach a corner, to create a neat, squared edge. To pivot, stop stitching with the needle down at the corner. Lift the presser foot, and rotate the fabric. Lower the presser foot and continue sewing in a new direction.

Tip: The bolded terms throughout this article are all things you can look up if you are unfamiliar. Get used to highlighting or circling words you don’t recognize and then Googling them—or use the search feature at the top of this page, and we might have a helpful resource.
Step 5: Sew Your Tote Bag
Now you’re ready to make your tote bag!
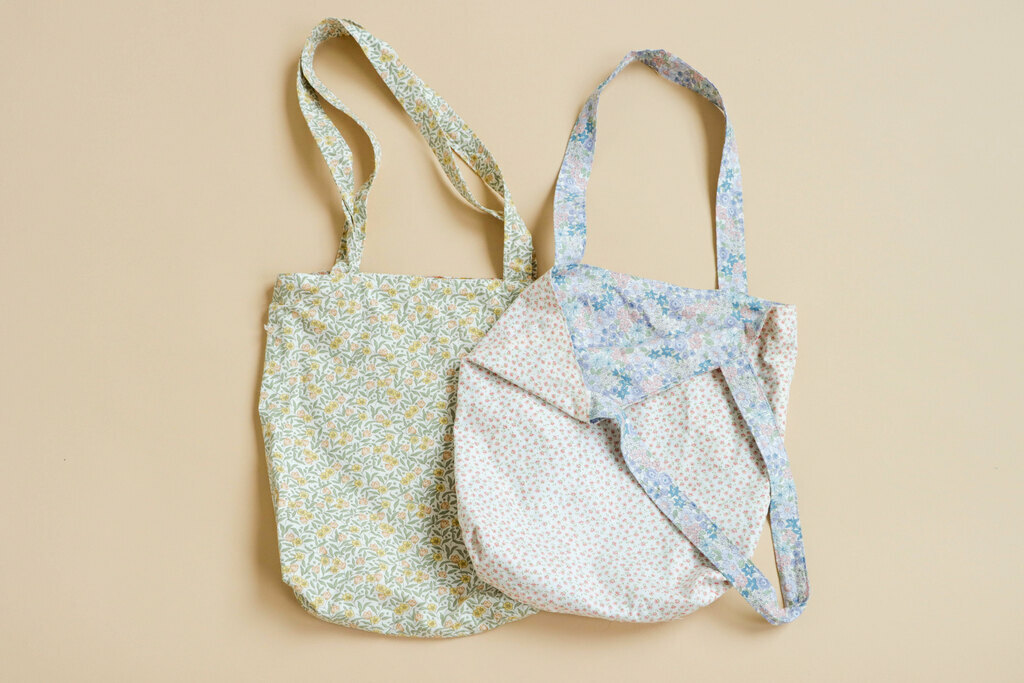
If you want to try a pattern you can download our Ollie tote bag and we have a free sewalong here. Following video sewalongs is a great way to build skills.
If you want to try cutting your own pieces without a pattern, here’s a tutorial to make a reversible tote bag from scratch. You can also copy the dimensions from this tutorial, and then lean on the Ollie sewalong to help if you get stuck.
Step 6: Celebrate Your First Sewing Project
You’ve made your first tote bag—congratulations! Take a moment to appreciate what you’ve accomplished. This is an important step when you’re first gaining momentum while you learn to sew. Taking time to celebrate or give yourself a reward will make you even more excited to finish another project.
Whether your tote bag is perfectly sewn or a little wobbly, it’s your creation, and that’s something to be proud of. Sewing can be a really awesome lifelong hobby, and you just took the first step.
Now, you’re ready to tackle your first garment. You’ve covered all the basics, so following an actual sewing pattern is the next step to help you build more skills.
Read this article get started with your first garment: How to Sew Clothes: A Beginner’s Guide to Sewing Your First Garment.
If you want step-by-step guidance from two total experts, be sure to check out our Learn to Sew Clothing: For Absolute Beginners course. It breaks everything down into the most bite-sized pieces to help you learn.