Sign In

When I find a pattern I like, I want to make it over and over in different ways. Here’s why:
- It means less cutting
- I know it’ll fit.
- I can sew it faster the second or third time.
- I can skip the instructions.
- I know what fabrics will work.
- AND I can usually make it even better.
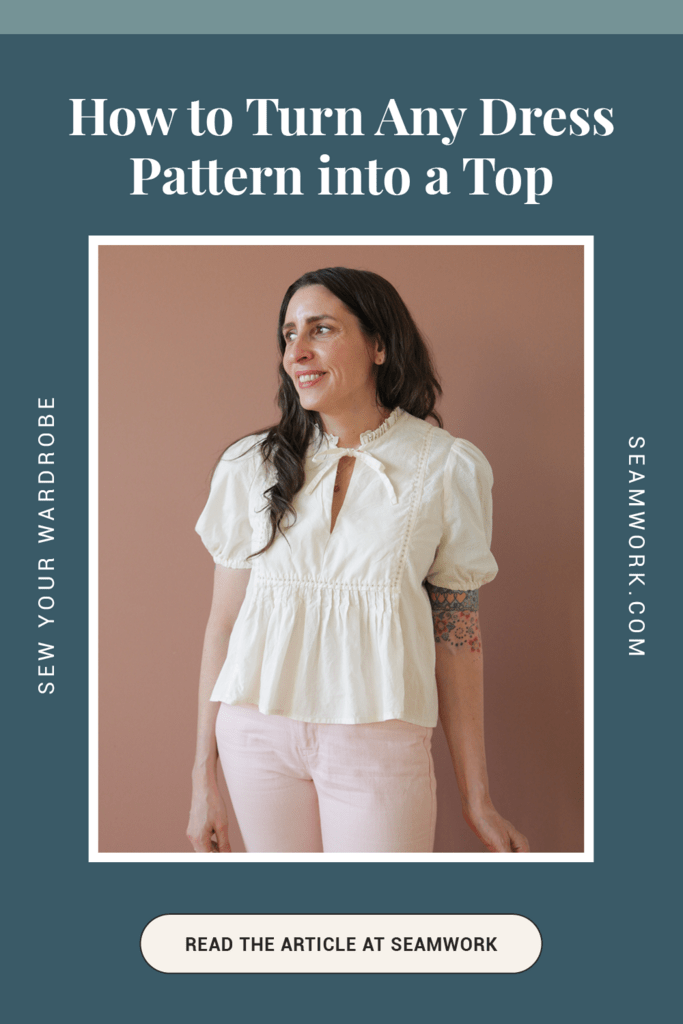
In today’s pattern hack, I’ll show you how to get more out of a dress pattern you already like by turning it into a top.
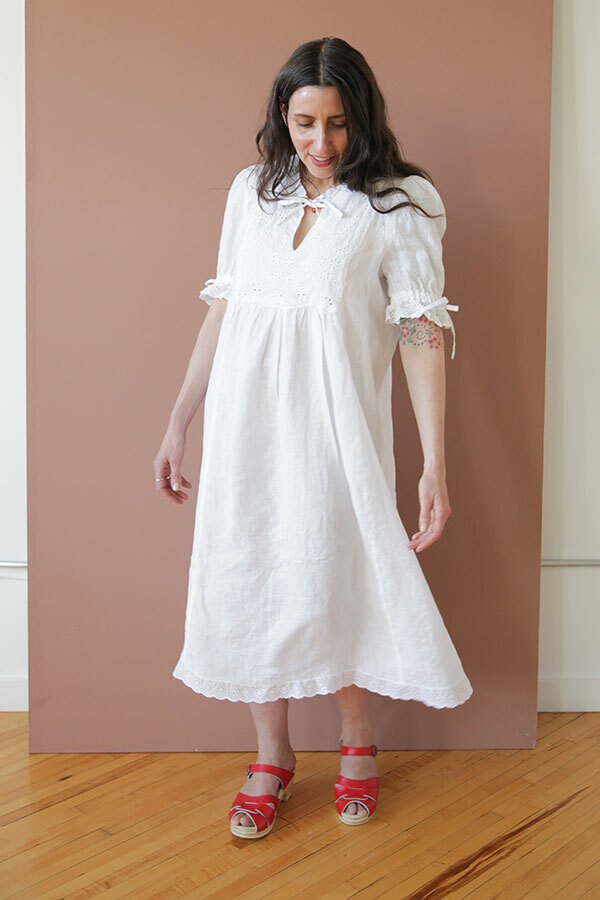

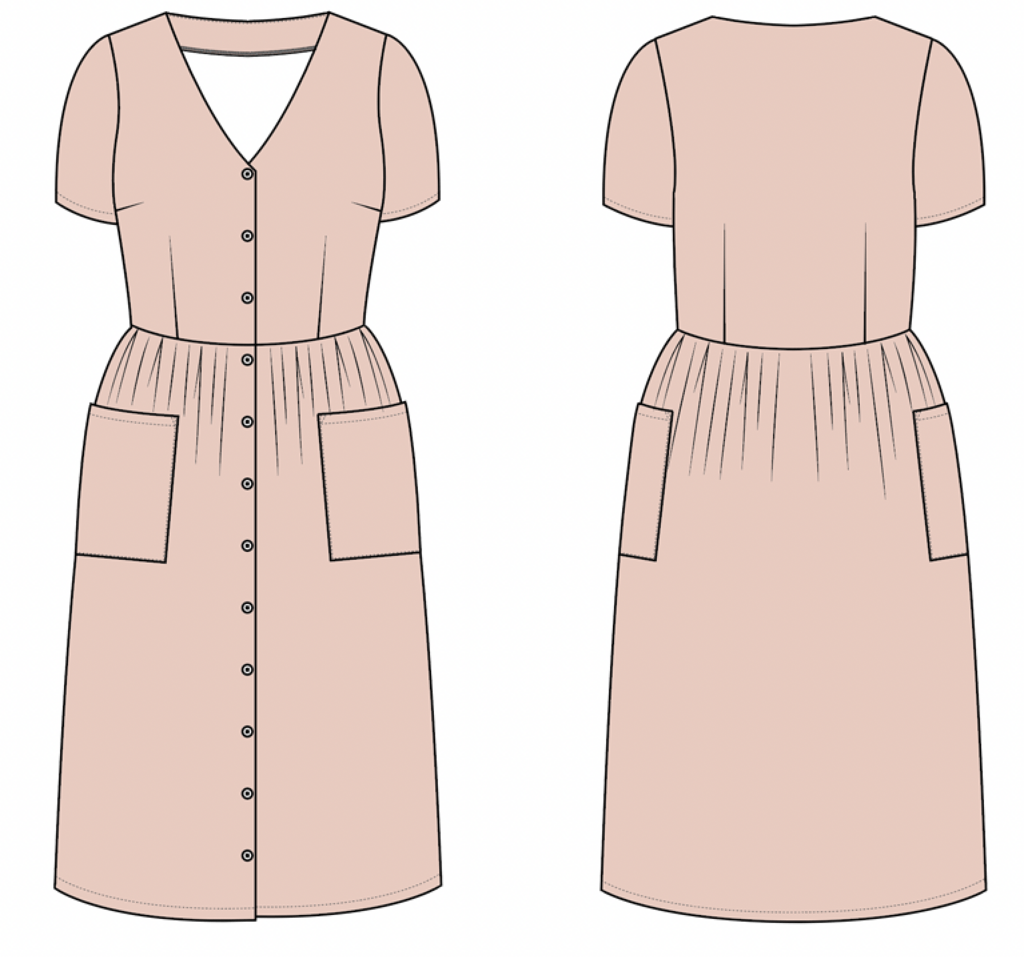
If you watched my recent video on sewing easy vintage details, then you saw that I took the Baker dress and turned it into this really pretty top.
I got a lot of questions about how to do that because Baker has all these vertical seams and panels.
So I’m going to show you how to create a top from three different dress patterns, including:
- A pattern with no waist seam
- A pattern that has a waist seam
- And a pattern that has princess seams
How to Turn a Dress Into a Top
Let’s start with the steps you’ll need for any dress pattern. No matter what your pattern looks like, you’ll need to do these five steps.
Step 1: Determine the Length of Your Top
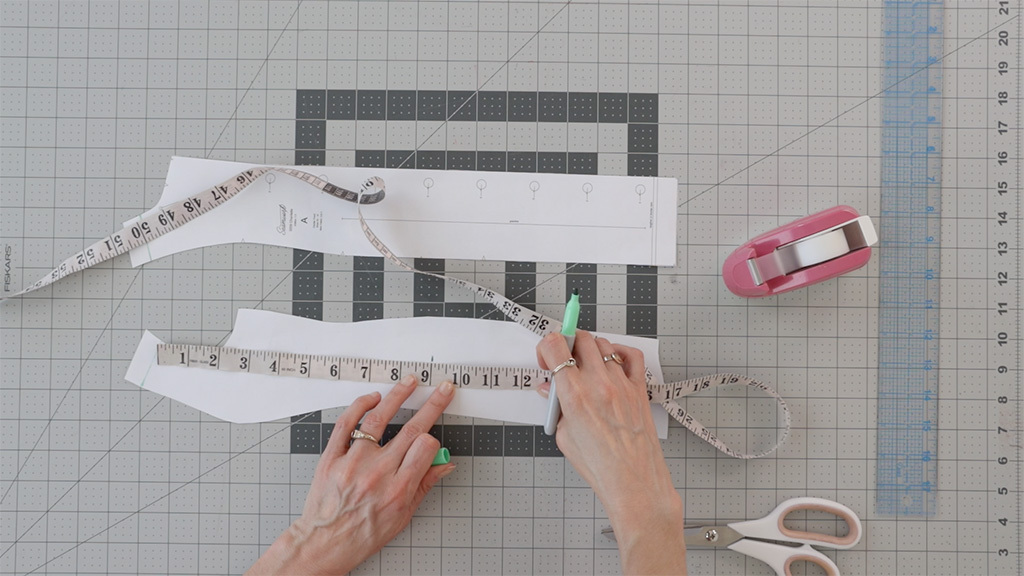
To determine the length of your top, measure from your shoulder down to the desired length using a flexible measuring tape.
Typically, you will measure from your shoulder point, where your shoulder seam will sit. I recommend adding a few inches to this number because it’s easier to shorten a pattern than to add length.
You can also grab a similar top from your closet, try it on, and then measure the length of the top from the shoulder seam.
Step 2: Mark the Seam Allowances
On your pattern piece, mark off the seam allowances wherever you are measuring from.
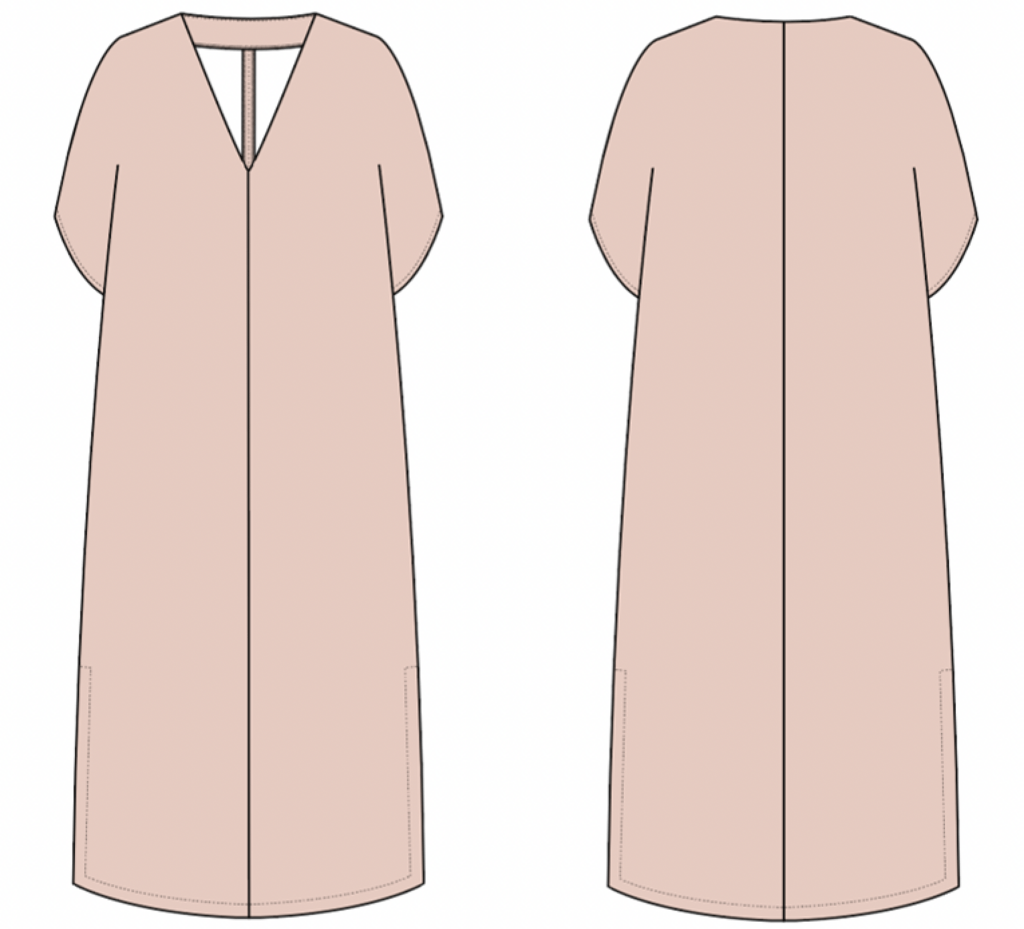
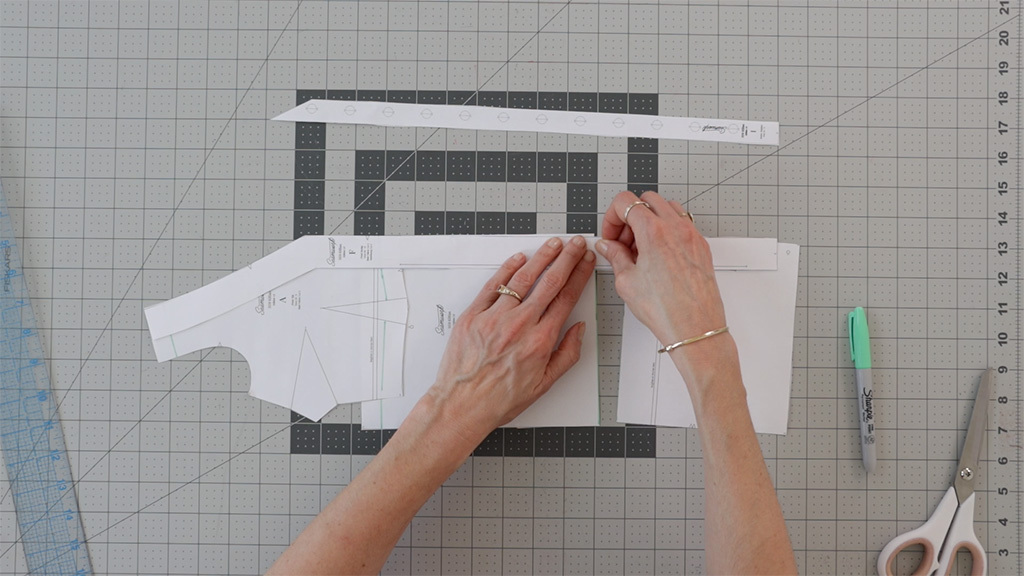
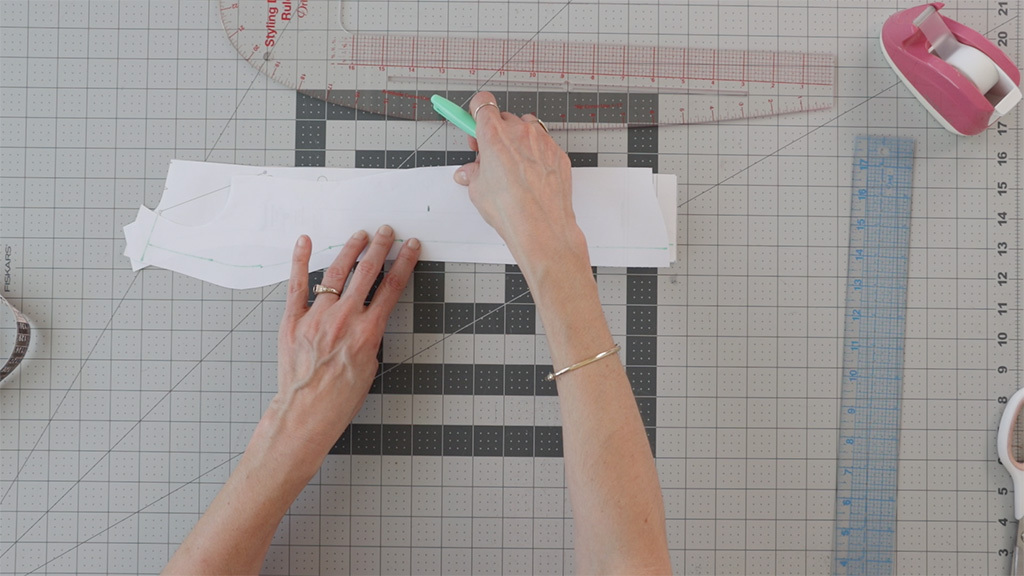
This is a dress pattern without a waist seam. I’m using the Micah dress as an example, but no matter what your dress looks like, follow these first five steps.
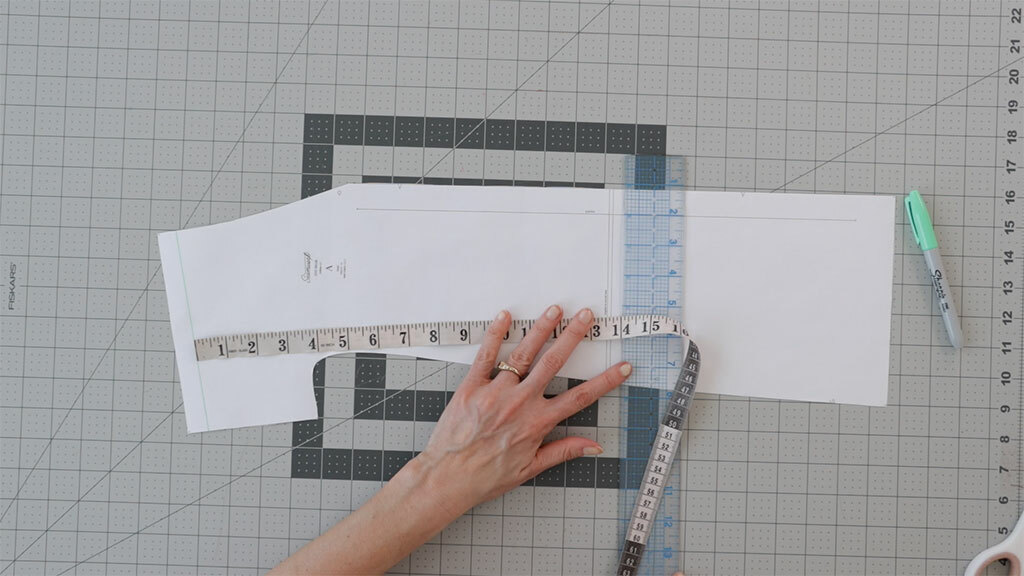
On your pattern piece, measure to the length you determined in step 1, and draw a line perpendicular to the center front.
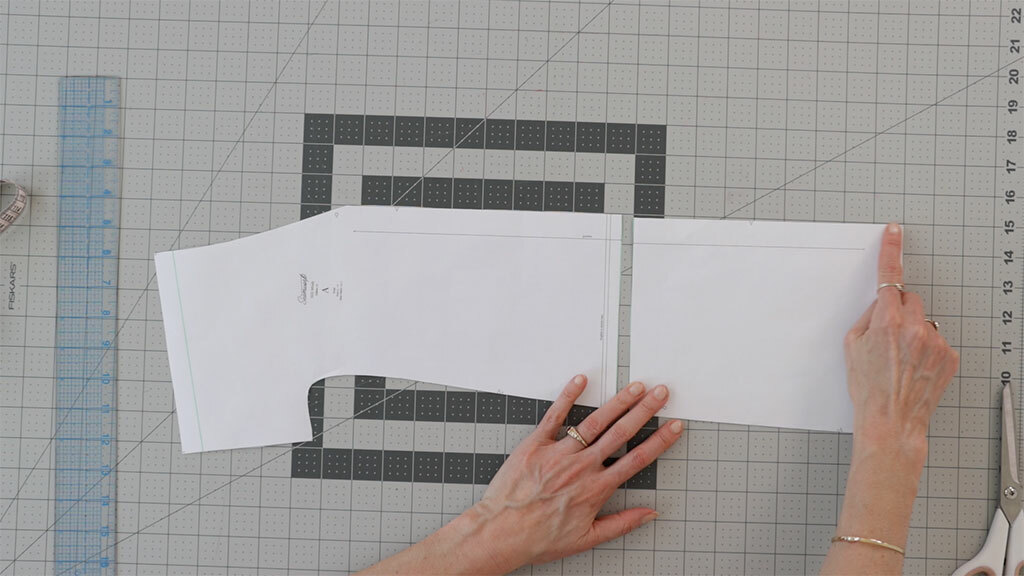
Cut off the excess pattern below this line.
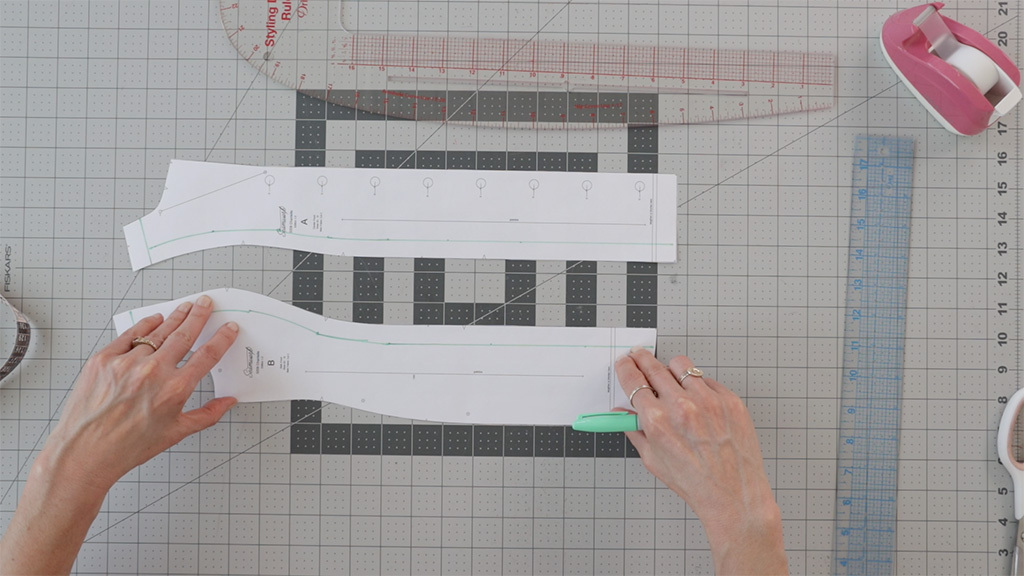
Step 3: Adjust the Hemline
Some hems must be curved at the side seams because your body has curves. Some patterns also have a shaped hemline you might want to replicate (I’ll show you an example in the third sample with princess seams).
To do adjust your hemline, you can use your original hem as a template. Just scoot it up to your new hemline and trace it. You can adjust it as needed.
Step 4: Repeat On The Back Pieces
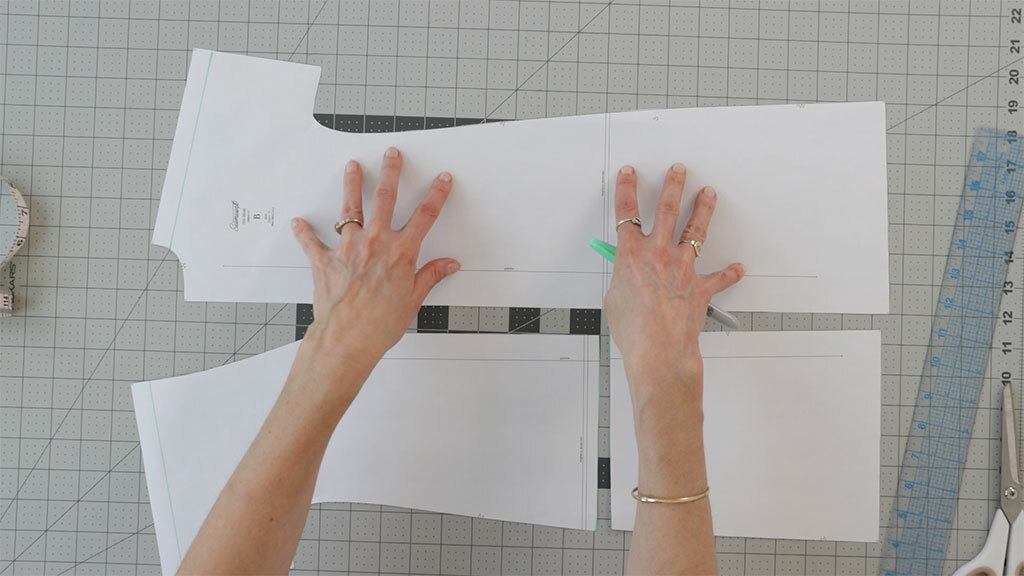
You’ll want to transfer all the changes you made to your front pattern pieces to your back pattern pieces, along with any other pieces that will be affected, like facings and plackets (I’ll show you an example in the following sample).
Step 5: Sew and Try It On!
Sew your top, but stop before you hem the final garment. If you added a couple of inches, you may need to shorten it.
So, try it on, make sure you like the length, and then hem it.
And now you have two different garments you can make using one pattern!
Dress With a Waist Seam
Next is a hack for a dress that does have a waist seam. I’m using the Killian dress as an example. This dress also has a facing and button placket, so I’ll show you how to adjust those.
You’re going to follow the same 5 steps as above. You’ll want to measure from your shoulder to find the length you want, so you don’t need to mess with the bust dart.
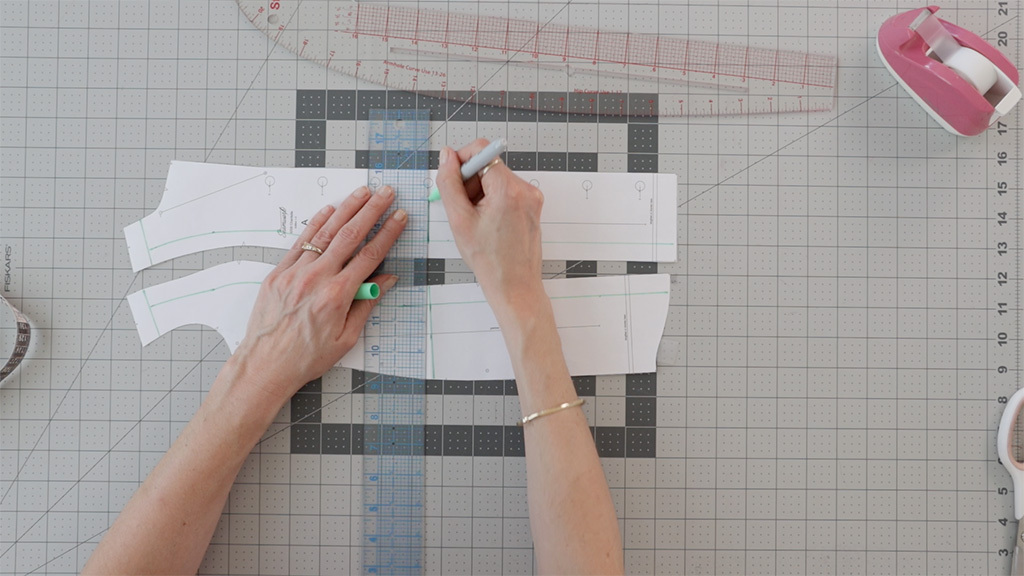
First, mark your seam allowances on the shoulder and the waistline of both the bodice and the skirt.
Measure from your shoulder seamline to your waist seamline on the bodice. Then, from the waist seam on the skirt piece, measure to your final desired length.
These two lengths should add up to the total length you want.
Draw a line perpendicular to the center front, trim the excess, and redraw your hem, just like we did in the first example.
If your pattern has a placket or facing, you’ll shorten those pieces to match your final length. If there are buttons, you may need to adjust their placement.
Dress With Princess Seams

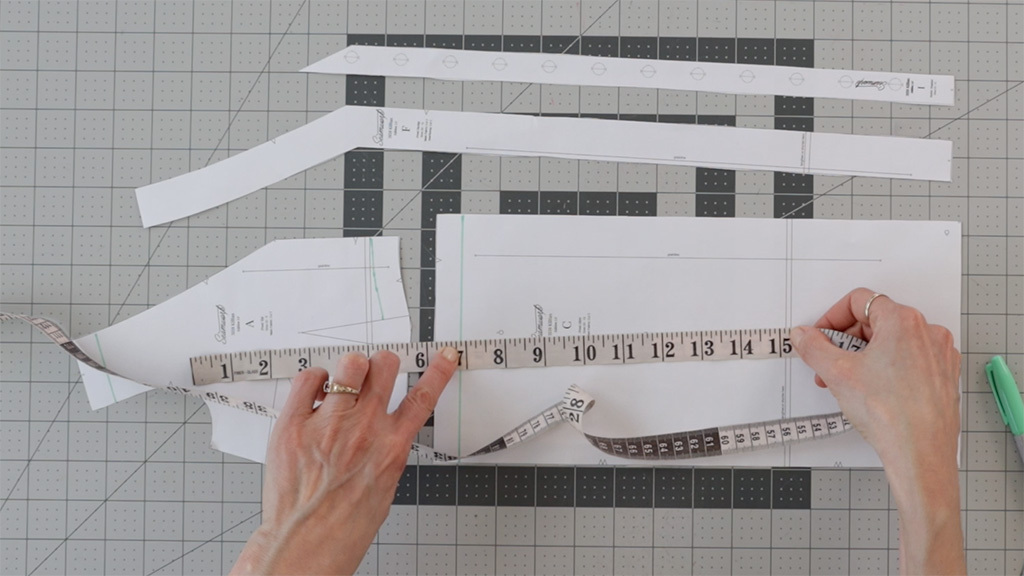
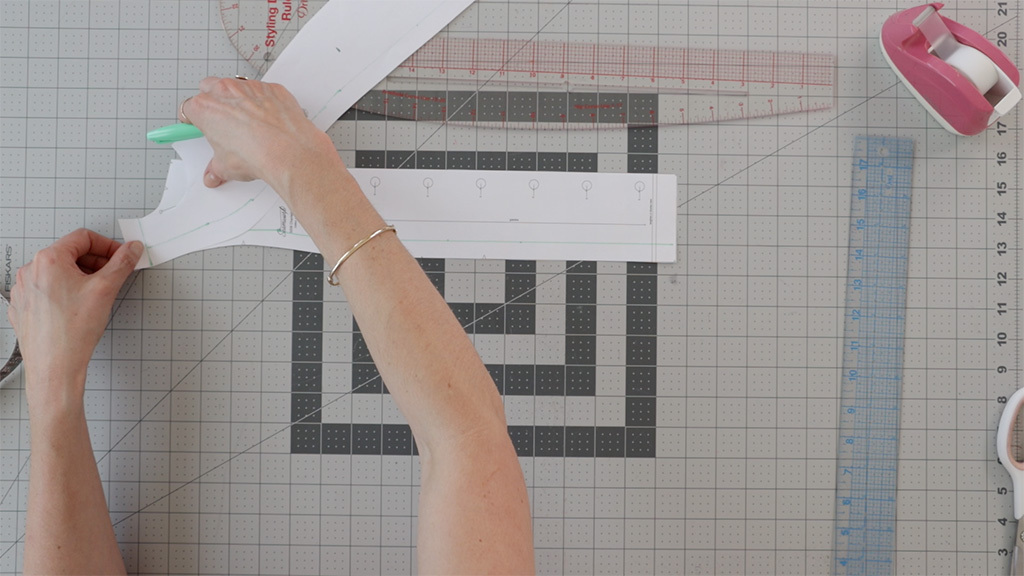
Finally, this is a hack for a dress with princess seams. I’m using the Chantelle dress as an example.
Princess seams are a little tricky because you have to match the length of the side piece to the center piece, but they’re actually really easy.
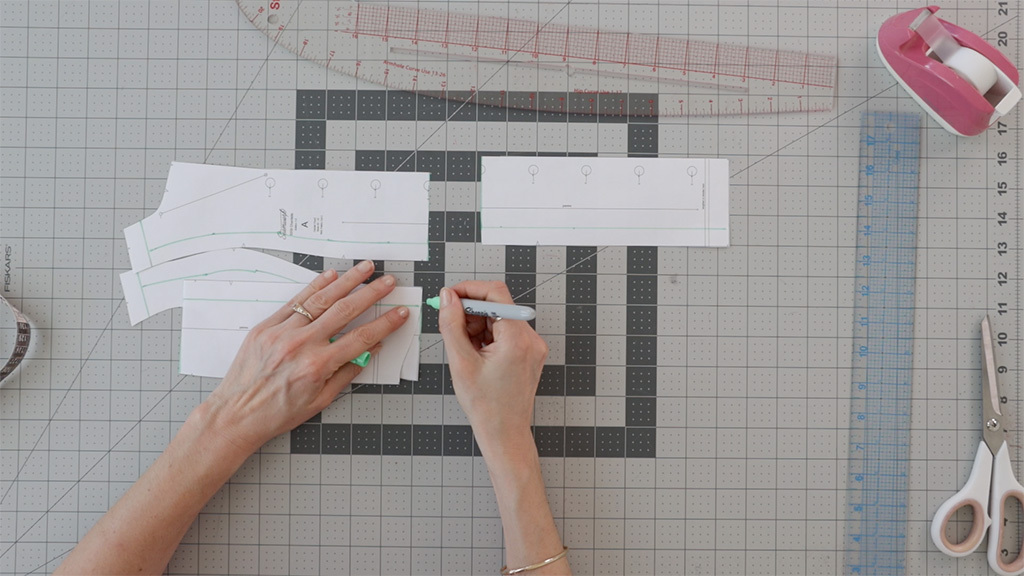
After you’ve determined your length and drawn your seam allowances at the shoulder, mark the final length on the side princess seam pattern piece. That pattern piece has the shoulder seam you can reference.
To do this, turn the pattern piece over so that you mark the length on the wrong side of the pattern piece.
Flip the pattern piece back over and draw seam allowances on the curved seams where the two pattern pieces will meet.
Walk the two pattern pieces together along the seamline. To walk pattern pieces, pretend you are sewing as you match the seamlines along the princess seams.
Continue walking until you get to the length you marked on the wrong side of the pattern piece.
Fold the piece over to mark the same place on the other pattern piece.
Extend those marks to guidelines for your new top. Trim the excess and redraw your hem.
This pattern has a shaped hem, so if you want to keep that, be sure to scoot it up and use it as a template.
I hope you make some fun tops using your dress patterns! This is a helpful hack if you love the details of the neckline or sleeves on a dress but prefer to wear blouses or tops.
If you liked this, you might also want to learn how to lengthen a top pattern into a dress.


I demonstrated this with the Fifer top and made a really cute gingham dress with it.