Sign In

I think we’ve all struggled with turning narrow spaghetti straps. It might be one of the most frustrating sewing steps out there.
This article about four methods to turn spaghetti straps was published in an early issue of Seamwork Magazine, and I decided to put these methods to the test and record my efforts.
I made a video testing these four ways to make spaghetti straps to determine which was the quickest and least stressful.
You can watch the full video on our YouTube channel to learn these methods or keep reading for a few notes.
Why Are Spaghetti Straps So Challenging?
When you’re sewing a spaghetti strap, you’re usually sewing a long, skinny tube that you’ll need to turn right side out.
I find two challenges with this. One, you need to trim the seam allowance to be pretty small, so it can sometimes fray, which really sucks.
Two, turning something so narrow is hard, especially to get it started. Sometimes, your tube turns into a tight little fabric ball and won’t turn.
So let’s see if these 4 tricks help with that.
The Four Tests
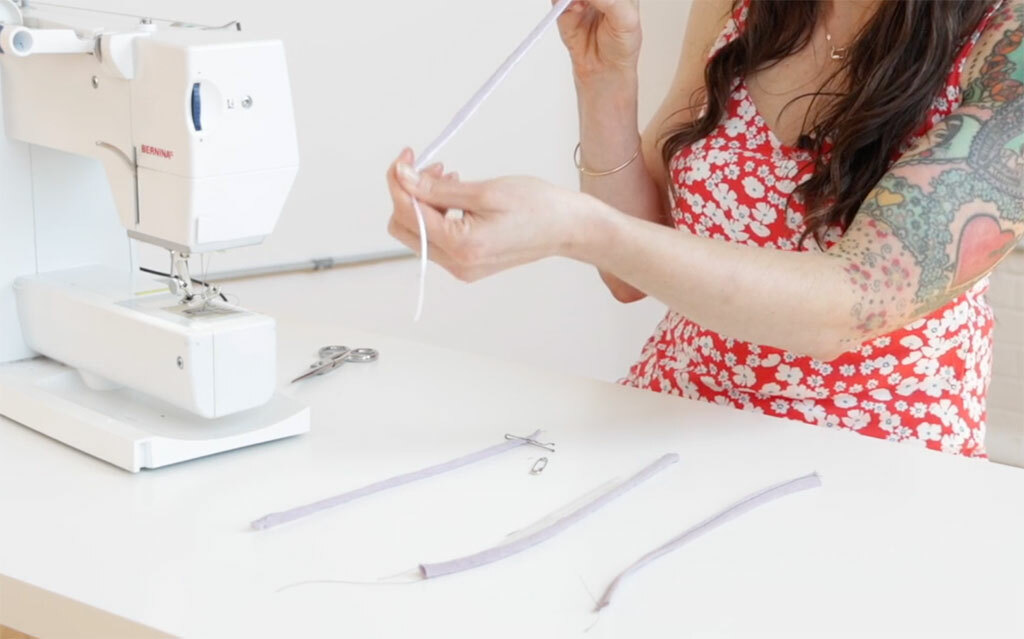
I’ve tried a few tools and notions designed to turn straps, but these tricks use everyday household objects.
I tested:
- A bobby pin
- A straw
- A cord
- A no-turn method
I wanted to know which was the fastest, so I timed myself. I also wanted to know which felt the easiest, so I rate them on our seam ripper scale, with 1 being “super easy” and 5 being “never again.” Ok, let’s go!
The Results
The Cord
To use this method, lay the cording down the middle of the strap lengthwise, on the right side of the fabric. Stitch in place across the short end.
Wrap the fabric around the cording and stitch lengthwise, using a 1/4 inch seam allowance. Be careful not to catch the cording in the seam. Trim the seam allowance to 1/8 inch after stitching.
Pull the cord to turn the loop to the right side, pushing the end around the cord as it begins to bunch up.
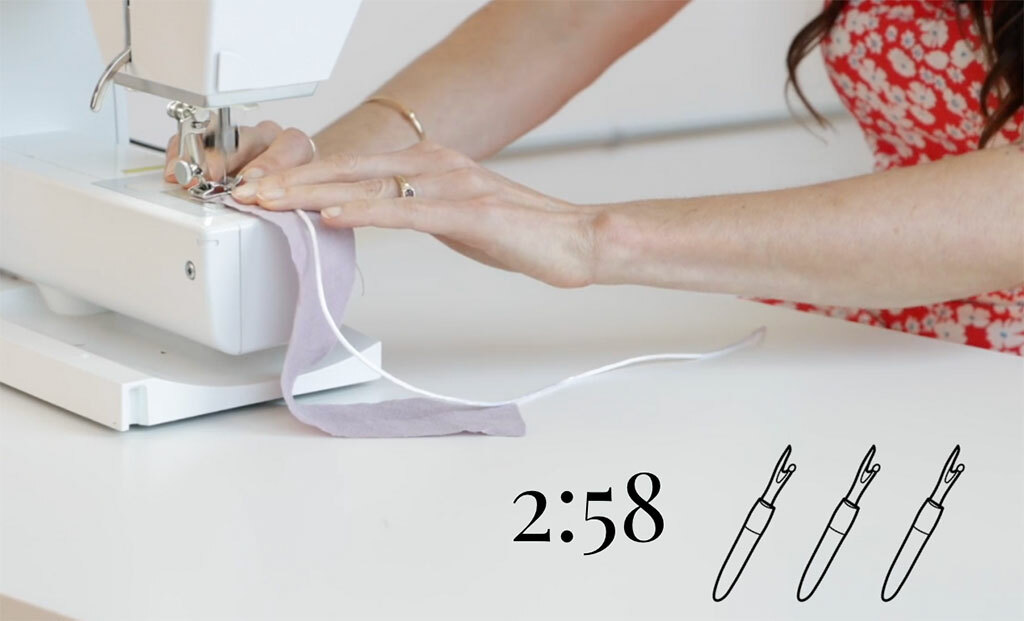
Time: 2 minutes, 58 seconds
Difficulty: 3 out of 5
The Bobby Pin
Fold the strap in half lengthwise and stitch using a 1/4 inch seam allowance. Trim seam allowance to 1/8 inch.
Cut a small slit in the tube, approximately 1/2 inch from the end.
Insert one end of the bobby pin through the top of the tube, and one end through the slit.
Work the bobby pin down through the tube and out the other end.
Pull to turn completely right side out.
-
Note: You can also use a safety pin to do this, just don’t cut the slit.
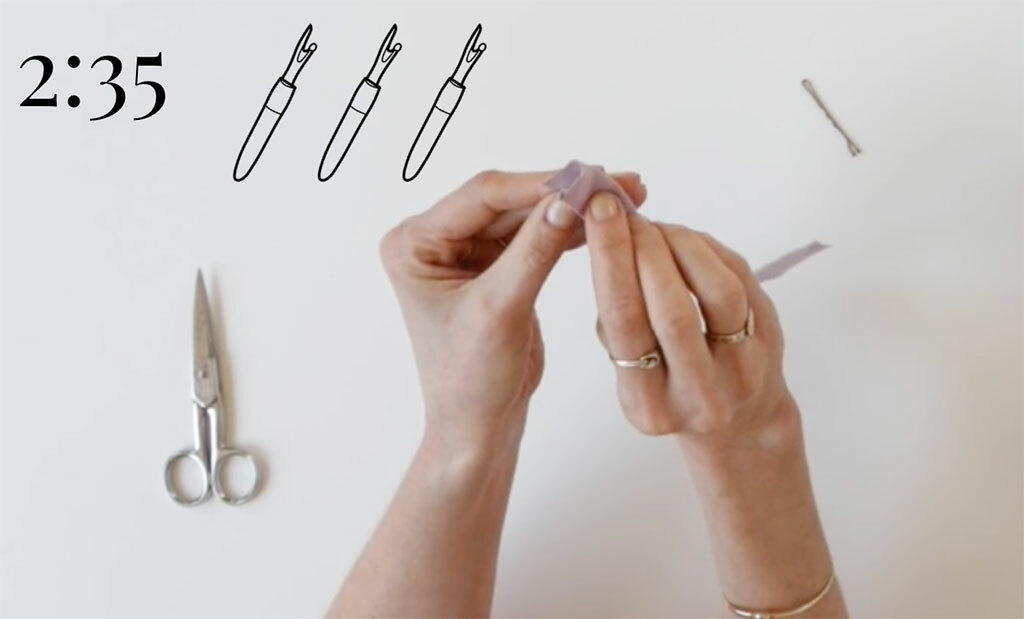
Time: 2 minutes, 35 seconds
Difficulty: 3 out of 5
The Straw
Fold the strap in half lengthwise and stitch using a 1/4 inch seam allowance.
Leave a very long thread tail at the end, a few inches longer than your entire strap.
Trim seam allowance to 1/8 inch. • Thread both pieces of the tail onto a hand sewing needle.
Drop the needle into the fabric tube, eye end first. Work the needle through and pull out the other side. • Drop the needle into the drinking straw and insert the straw into the tube.
Work the straw almost to the other end. Begin pulling on the thread tail, so that the end folds into the center of the straw. Pull gently. The straw will prevent your fabric from bunching up at the end.
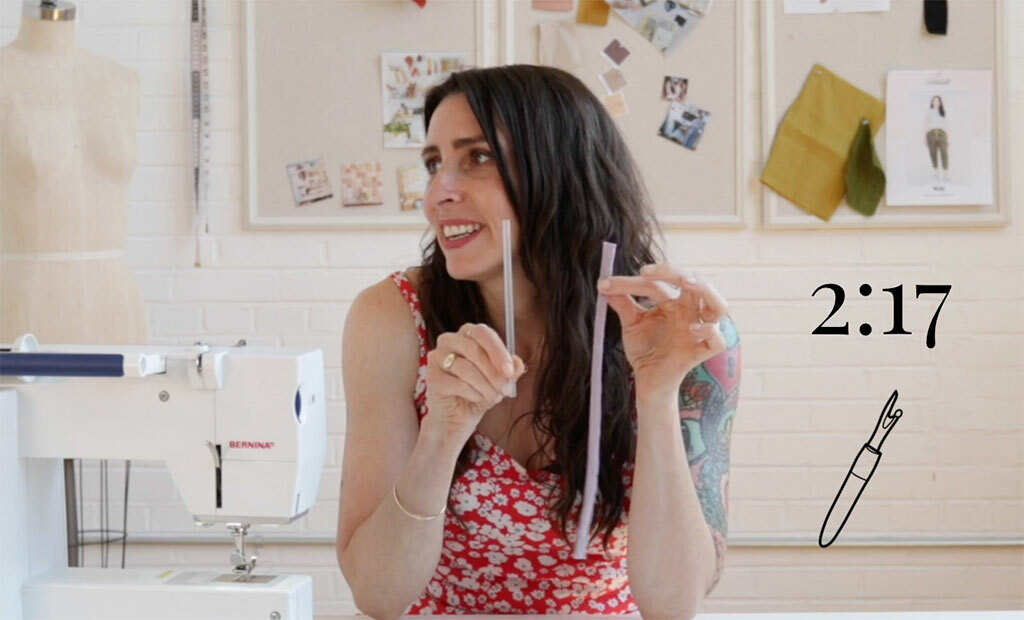
Time: 2 minutes, 17 seconds
Difficulty: 1 out of 5
The No-Turn Method
My favorite way to turn spaghetti straps is to avoid turning them at all.
I prefer to sew my spaghetti straps flat, kind of similar to how you make bias tape. I guess this makes them fettuccini straps rather than spaghetti straps?
Fold the strap in half, wrong sides together, and press.
Then, fld each raw edge again toward the center and press. Finally, fold the strap in half along the first pressed line, tucking in the raw edges.
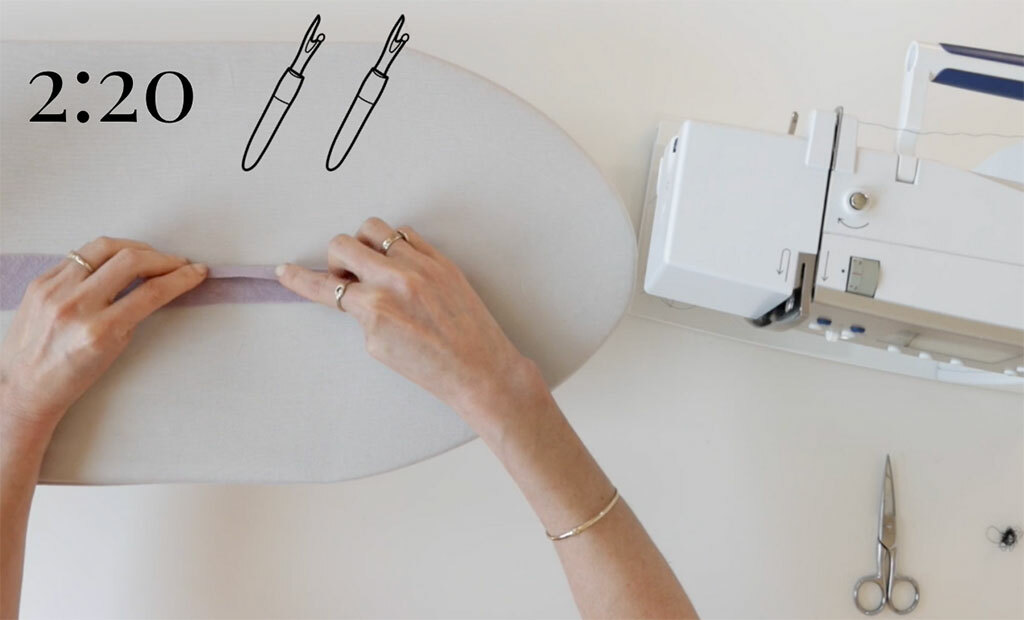
Edgestitch along the open edge to secure the strap, catching both edges.
Time: 2 minutes and 20 seconds
Difficulty: 2 out of 5
The Best Way to Turn Spaghetti Straps

I want to share a few tricks, regardless of what method you choose to turn your straps.
- Cut your straps on the bias instead of the straight grain, then pull gently and press when you are finished. Cutting on the bias means that the strips are on a 45-degree angle instead of straight up and down. This adds a bit of stretch and makes turning easier. Not only that, but fabric is much less prone to fraying on the bias.
- If your fabric is thin or very prone to fraying, sew an extra line of stitches before turning it.
- Trim your seam allowances. When you assemble your straps, trim your seam allowance to 1/8”. This reduces bulk.
- Use Fray Check (and let it dry) on your seam before turning the strap.
So, which of these methods was the best?
The straw was the fastest, easiest method, so overall, I’d say it was the surprise winner of this test. But the fetuccini strap method still felt really no-fuss to me.
I’d love to know what you think. Do you use any of these, or is there another one you prefer?
Comment and let me know!
Love the article? Pin it for later.